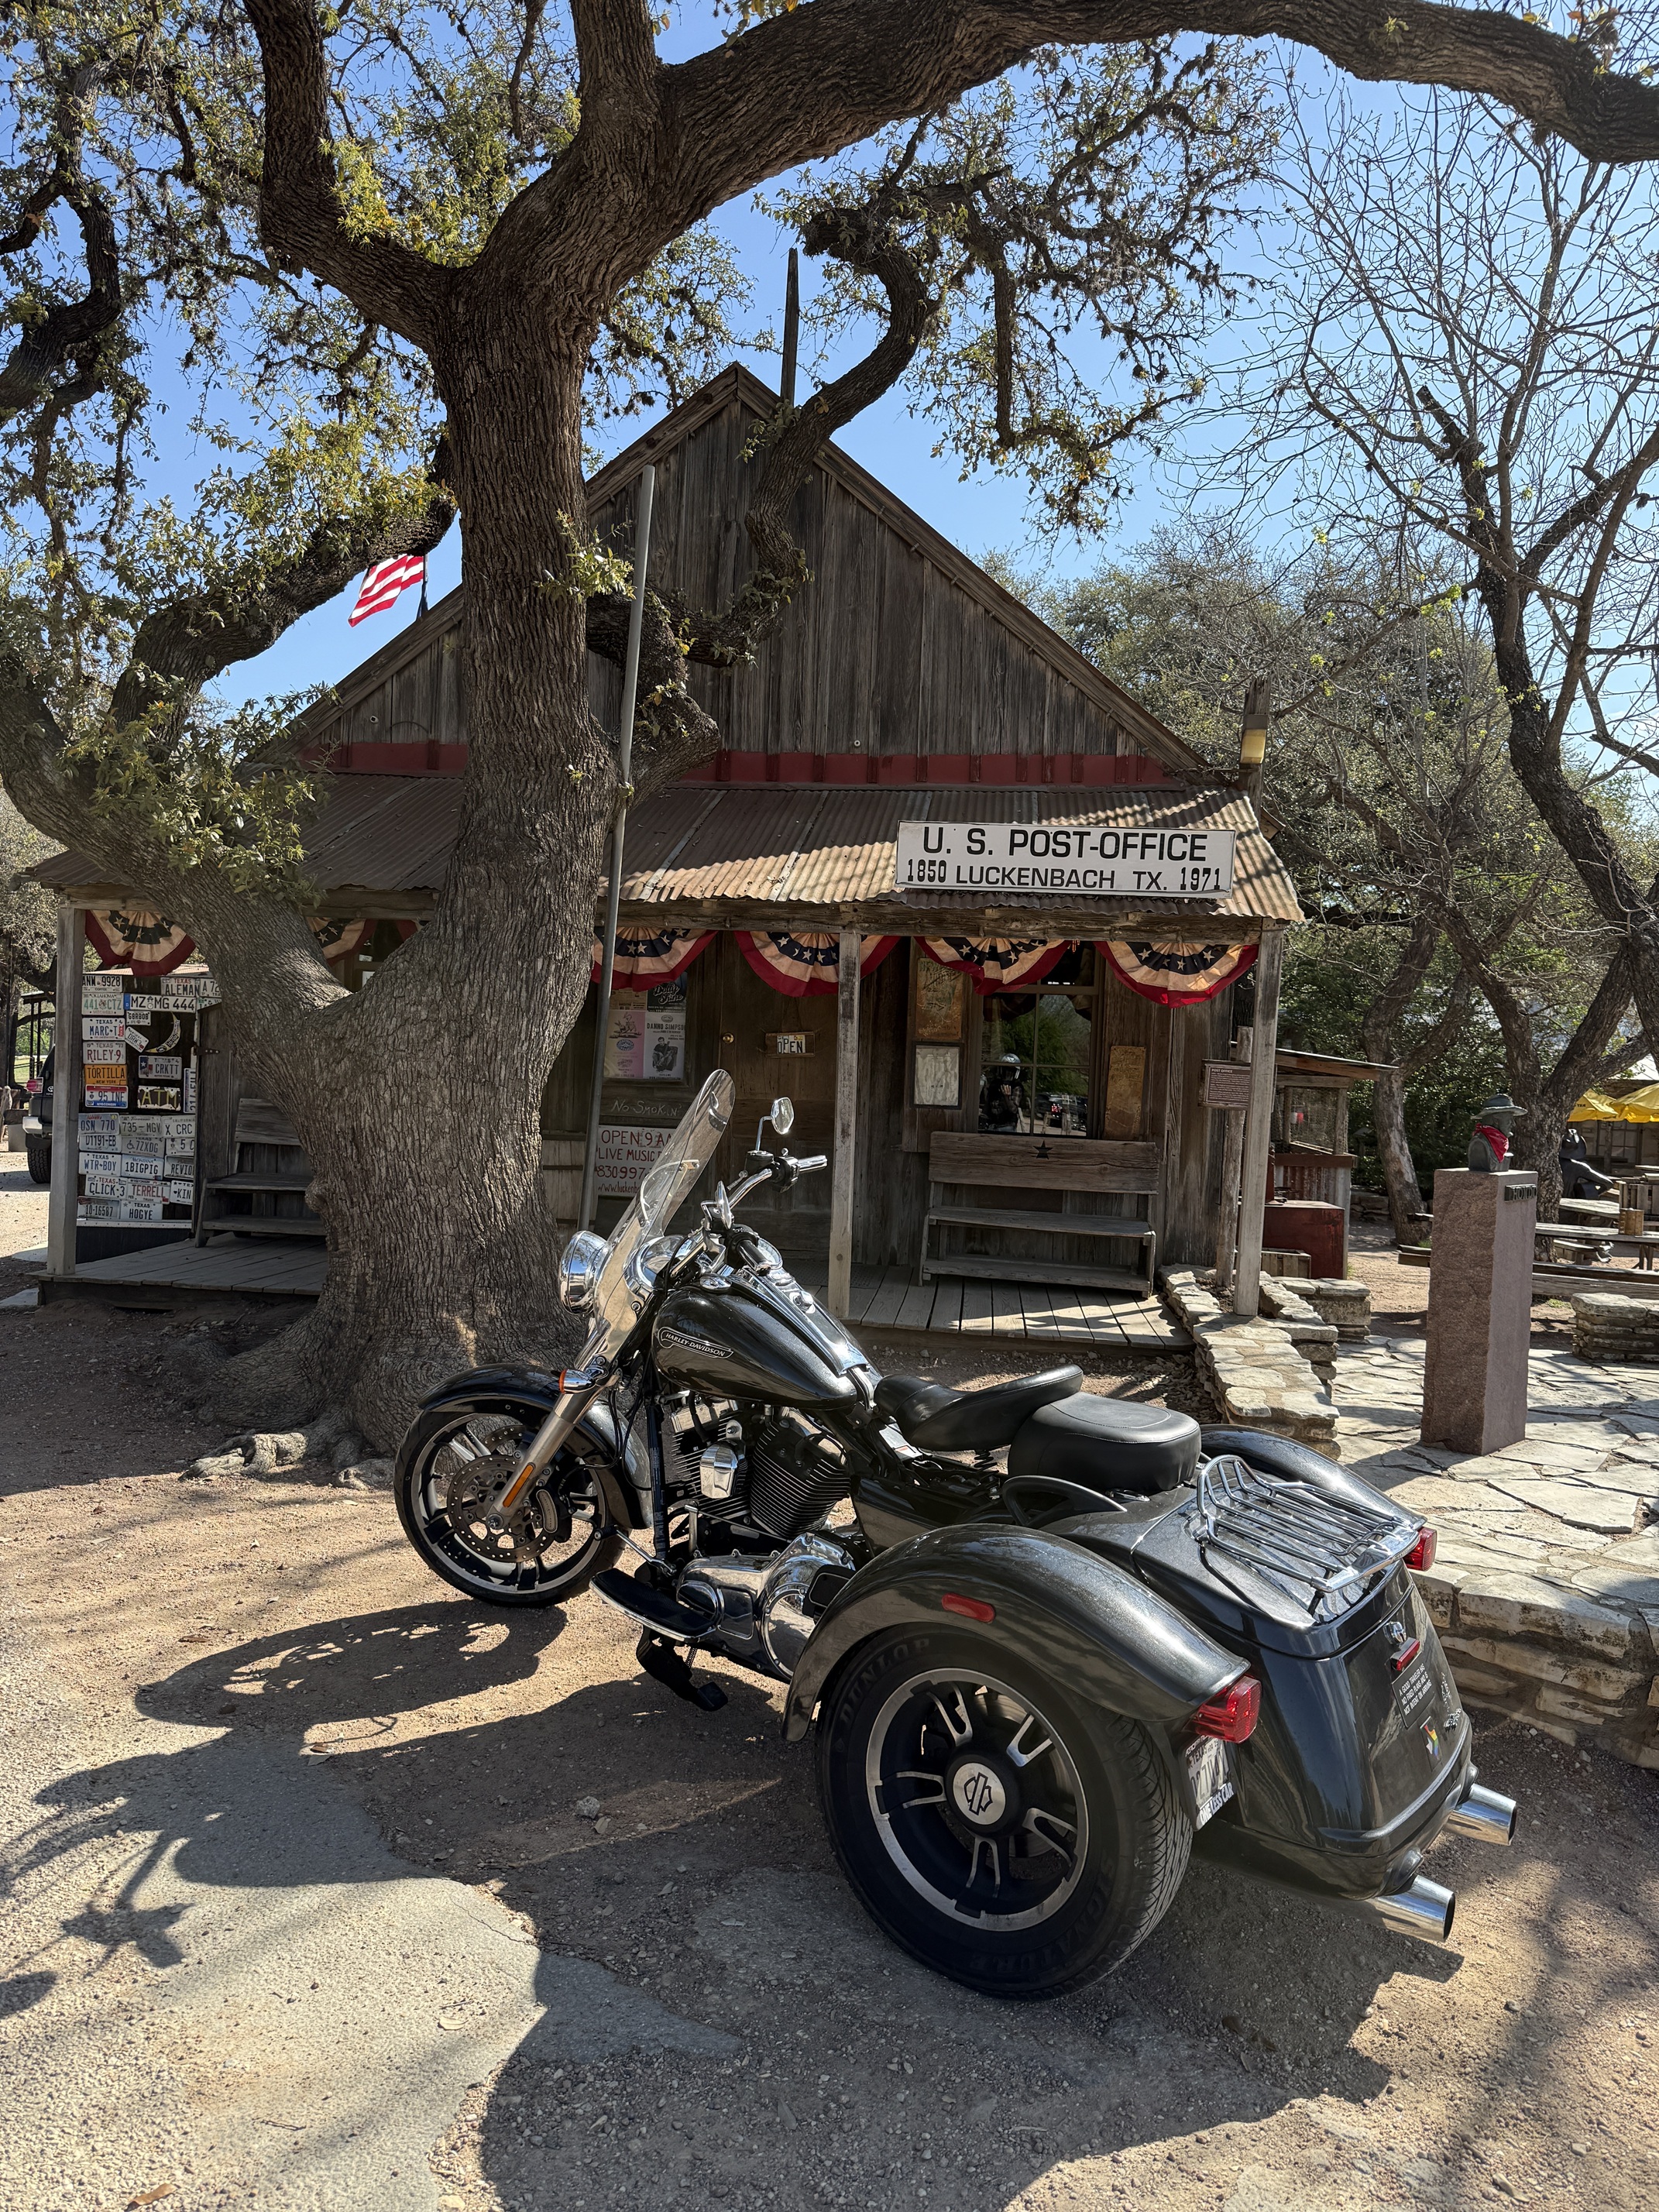
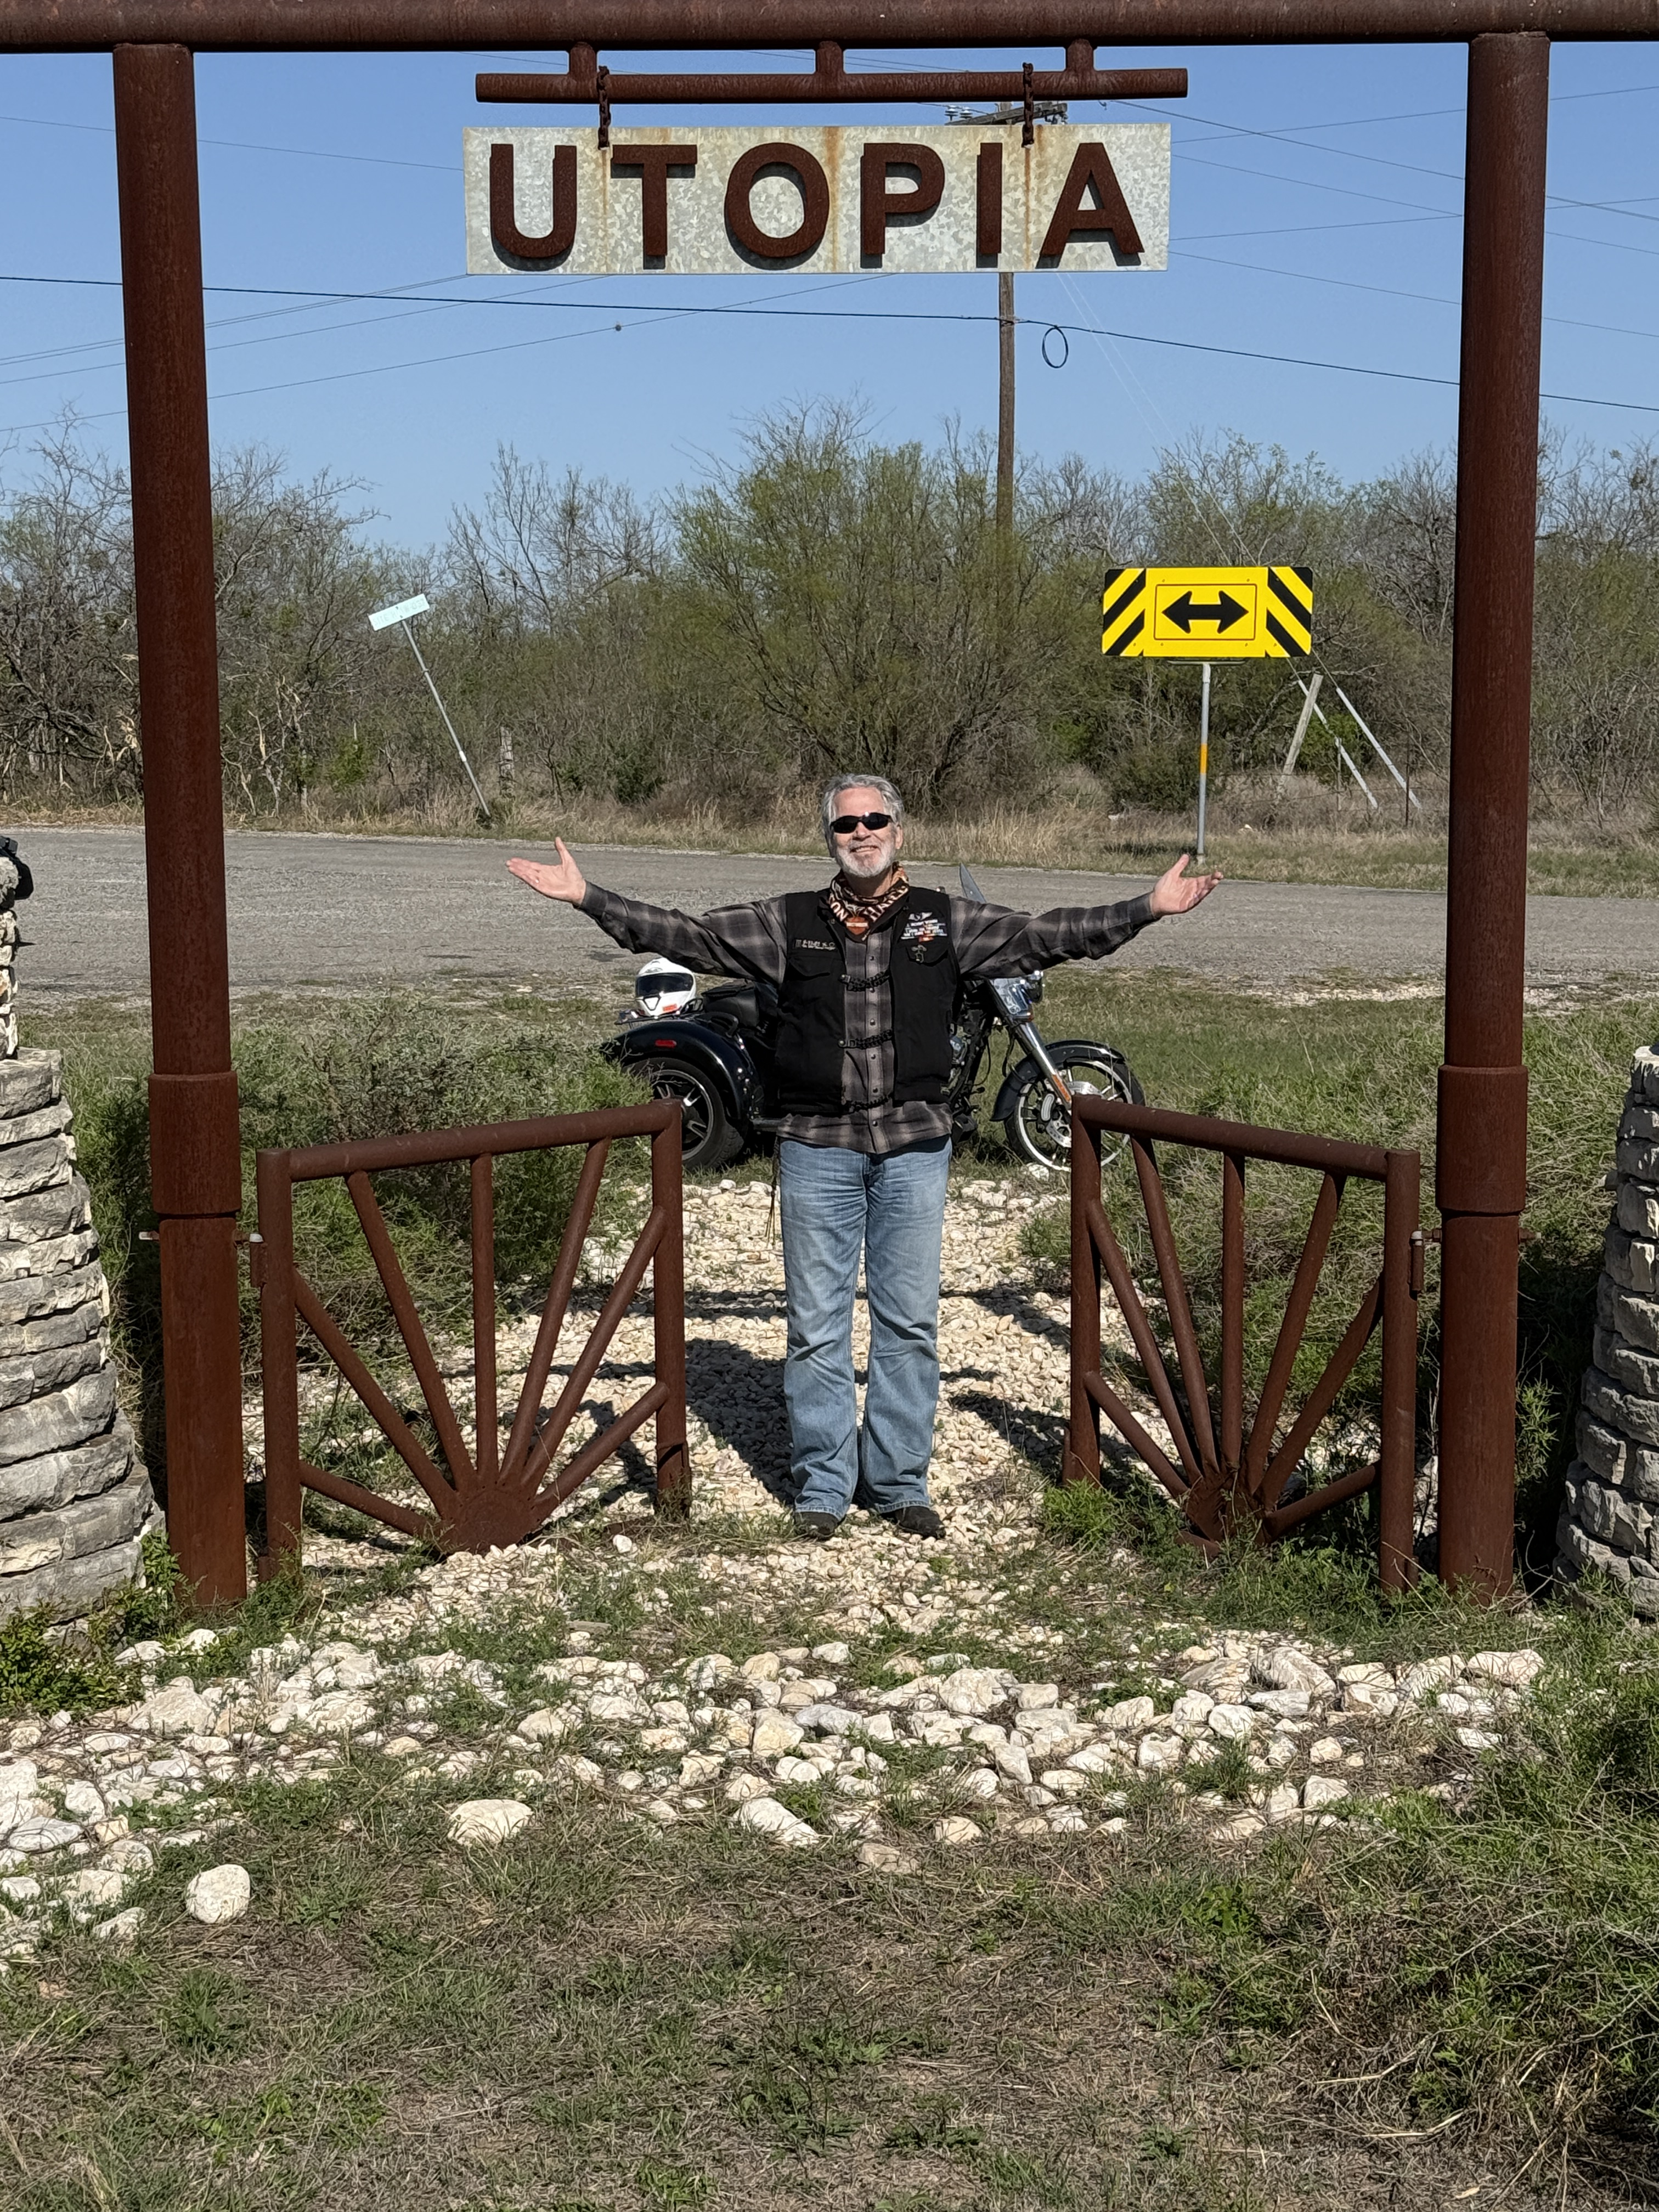
As noted in a previous post, I was disabled in a work accident in 2004. After numerous attempts to stay on two wheels or somehow trike my faithful old shovelhead, I finally broke down and bought a 2016 FLRT Freewheeler, which I’ve named The Box Turtle.
If you’ve never ridden a trike, let me warn you up front that they are very different from a two-wheeled (solo) ride. For starters, Harley trikes have no lean, which means you’re fighting centrifugal force in turns. It’s disconcerting, at best, to feel that the machine you’re on is about to tip over on you…. and, for the record and contrary to popular belief, trikes can tip over if not handled correctly! I use my upper body as a counterweight in hard turns, and closely monitor my throttle input, and (knock wood) seem to get along.
Then there’s the steering, the exact opposite of a solo ride. We’re taught to countersteer on a two-wheeler, e.g.: to push out on the right handgrip in order to lean into a righthand curve. Do that on a trike and you will find yourself going left, and fast! It’s the same with sidecar rigs, too. That trick can be pretty distracting (and/or terrifying) until you get used to it! 😱

Knowing this, I approached my trike as if I’d never ridden before, taking slow putts around the neighborhood, and going to the church parking lot at the top of the hill to get more familiar with turning and response. I took my time, and gradually built up to where I could take short errands. Then I graduated to rides on the rural roads around Central Texas, building speed and confidence in my machine and my abilities.
Now? Now I take it out in the Hill Country, on routes like the Twisted Sisters, and ride it like a damn canyon carver. 😎
Once I was familiar with the machine, I began adapting it to my disabilities.

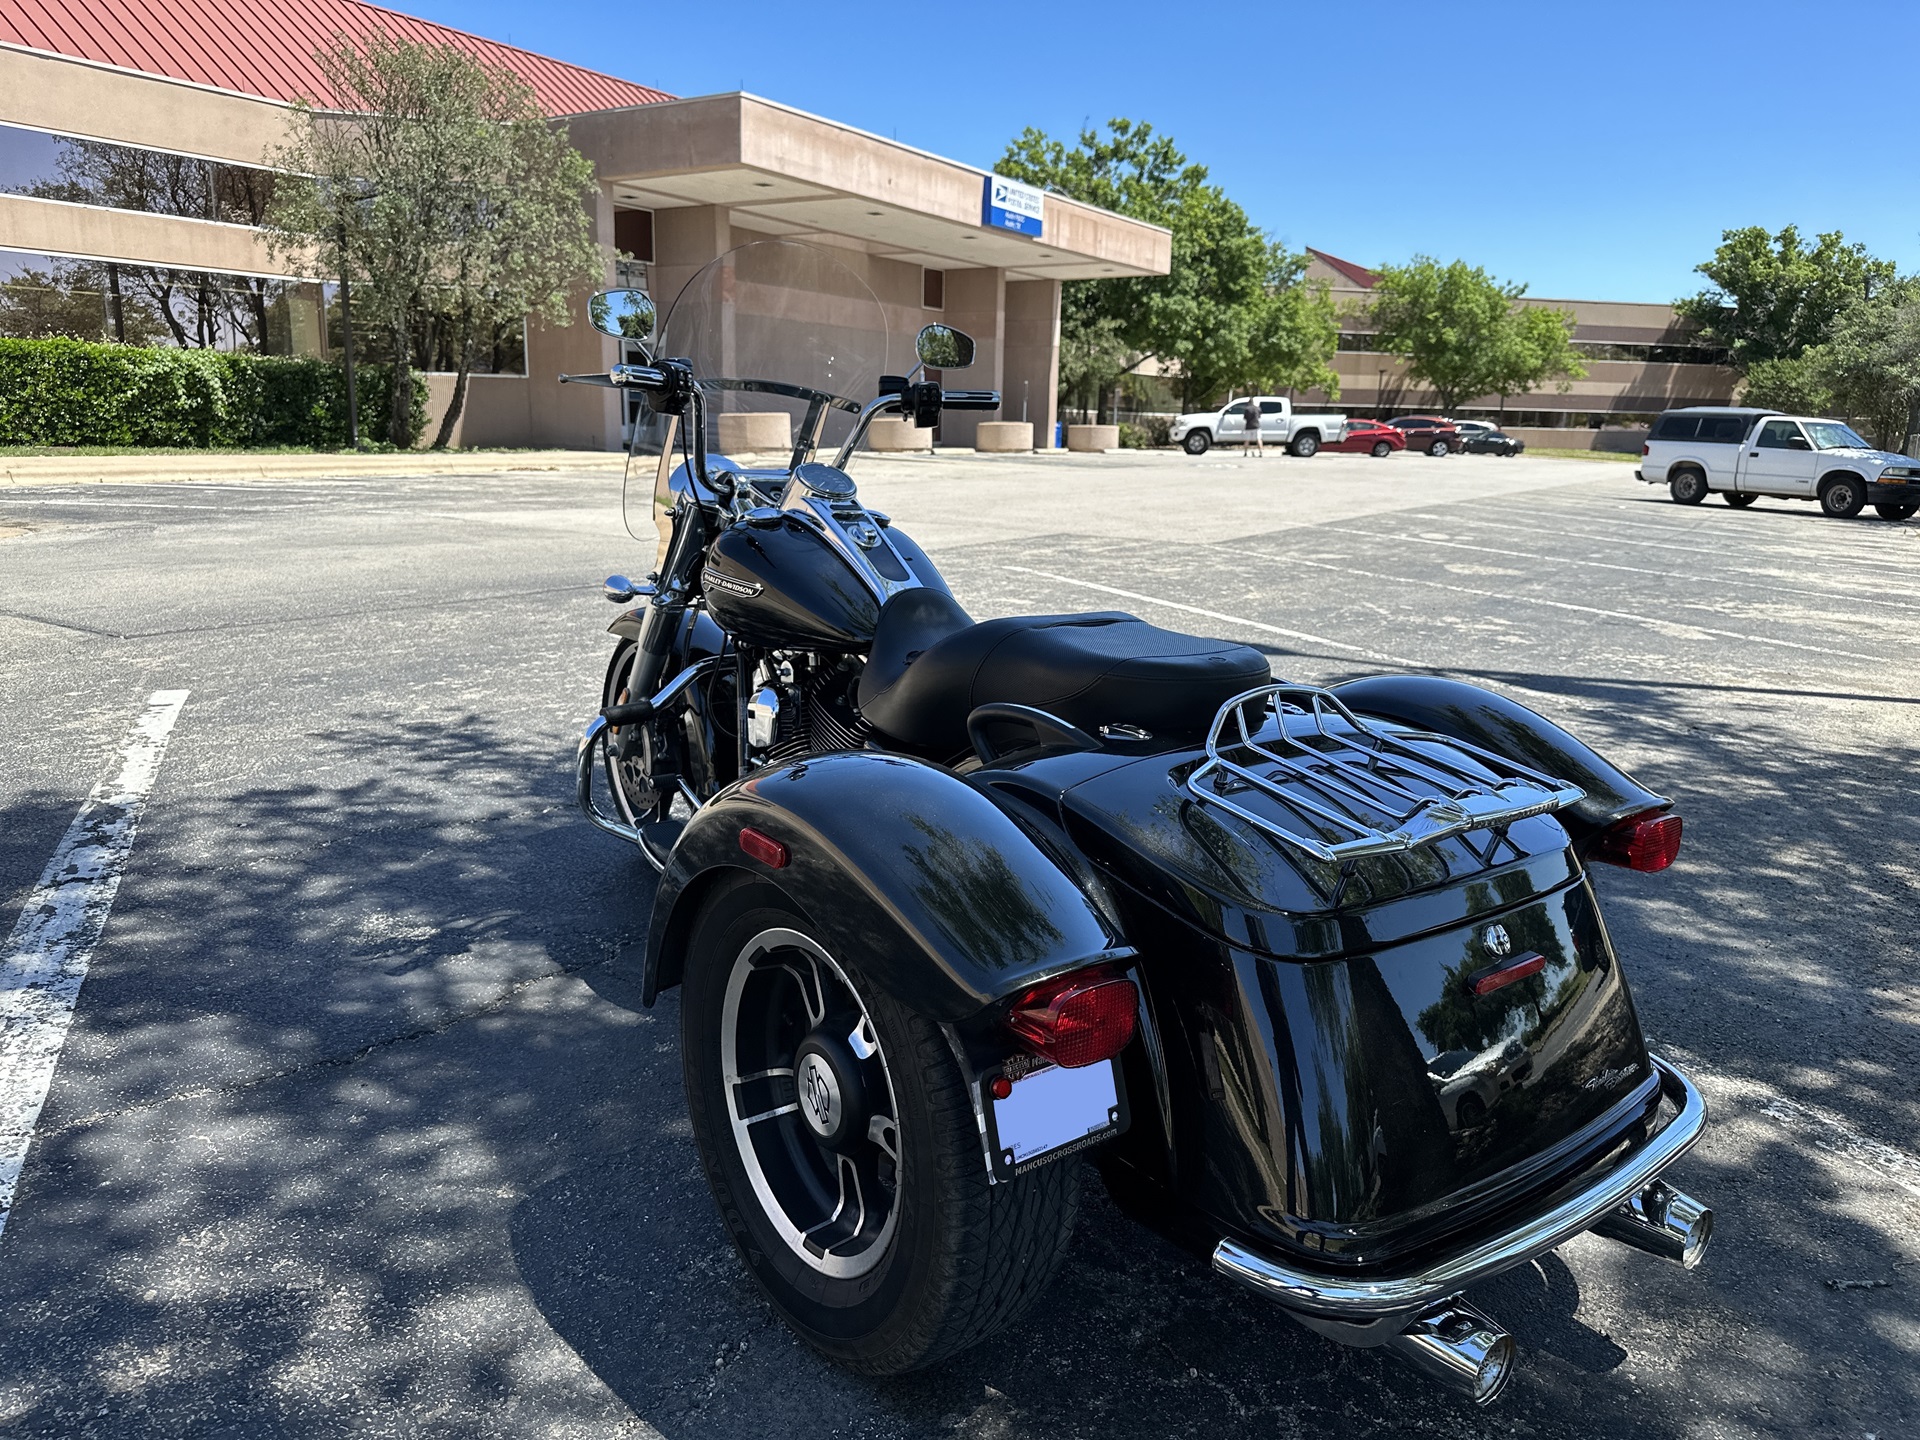
I started with the FXRP cop saddle I’d souvenired off my late great FXRS. I had a welder fashion a mount for the nose, and used the OEM springs and brackets for the rear. Then I had Bob Lee Peña over at Texas Steelhorse Saddles build me a pillion pad. I highly recommend Bob and Steelhorse, BTW. That pad fits and looks like a factory item!
I also played with the controls, including removing the heel shifter and adjusting the handlebars. The trike came with a windshield (essential so I’m not fighting the wind with my messed-up back muscles) so I was spared any expense there. I still need taller bars, to compensate for the raised saddle height, but otherwise the trike was set up just the way I needed it, except that….
….the rear suspension liked to beat me half to death on anything other than the smoothest pavement. I rode rigid for decades, so it’s not as if I’m unaccustomed to ‘road sense’ but this was worse than any rigid I ever rode, and there didn’t seem to be any way to adjust for it. The stock shock absorbers allegedly had some adjustment in them, but you couldn’t prove it by me!
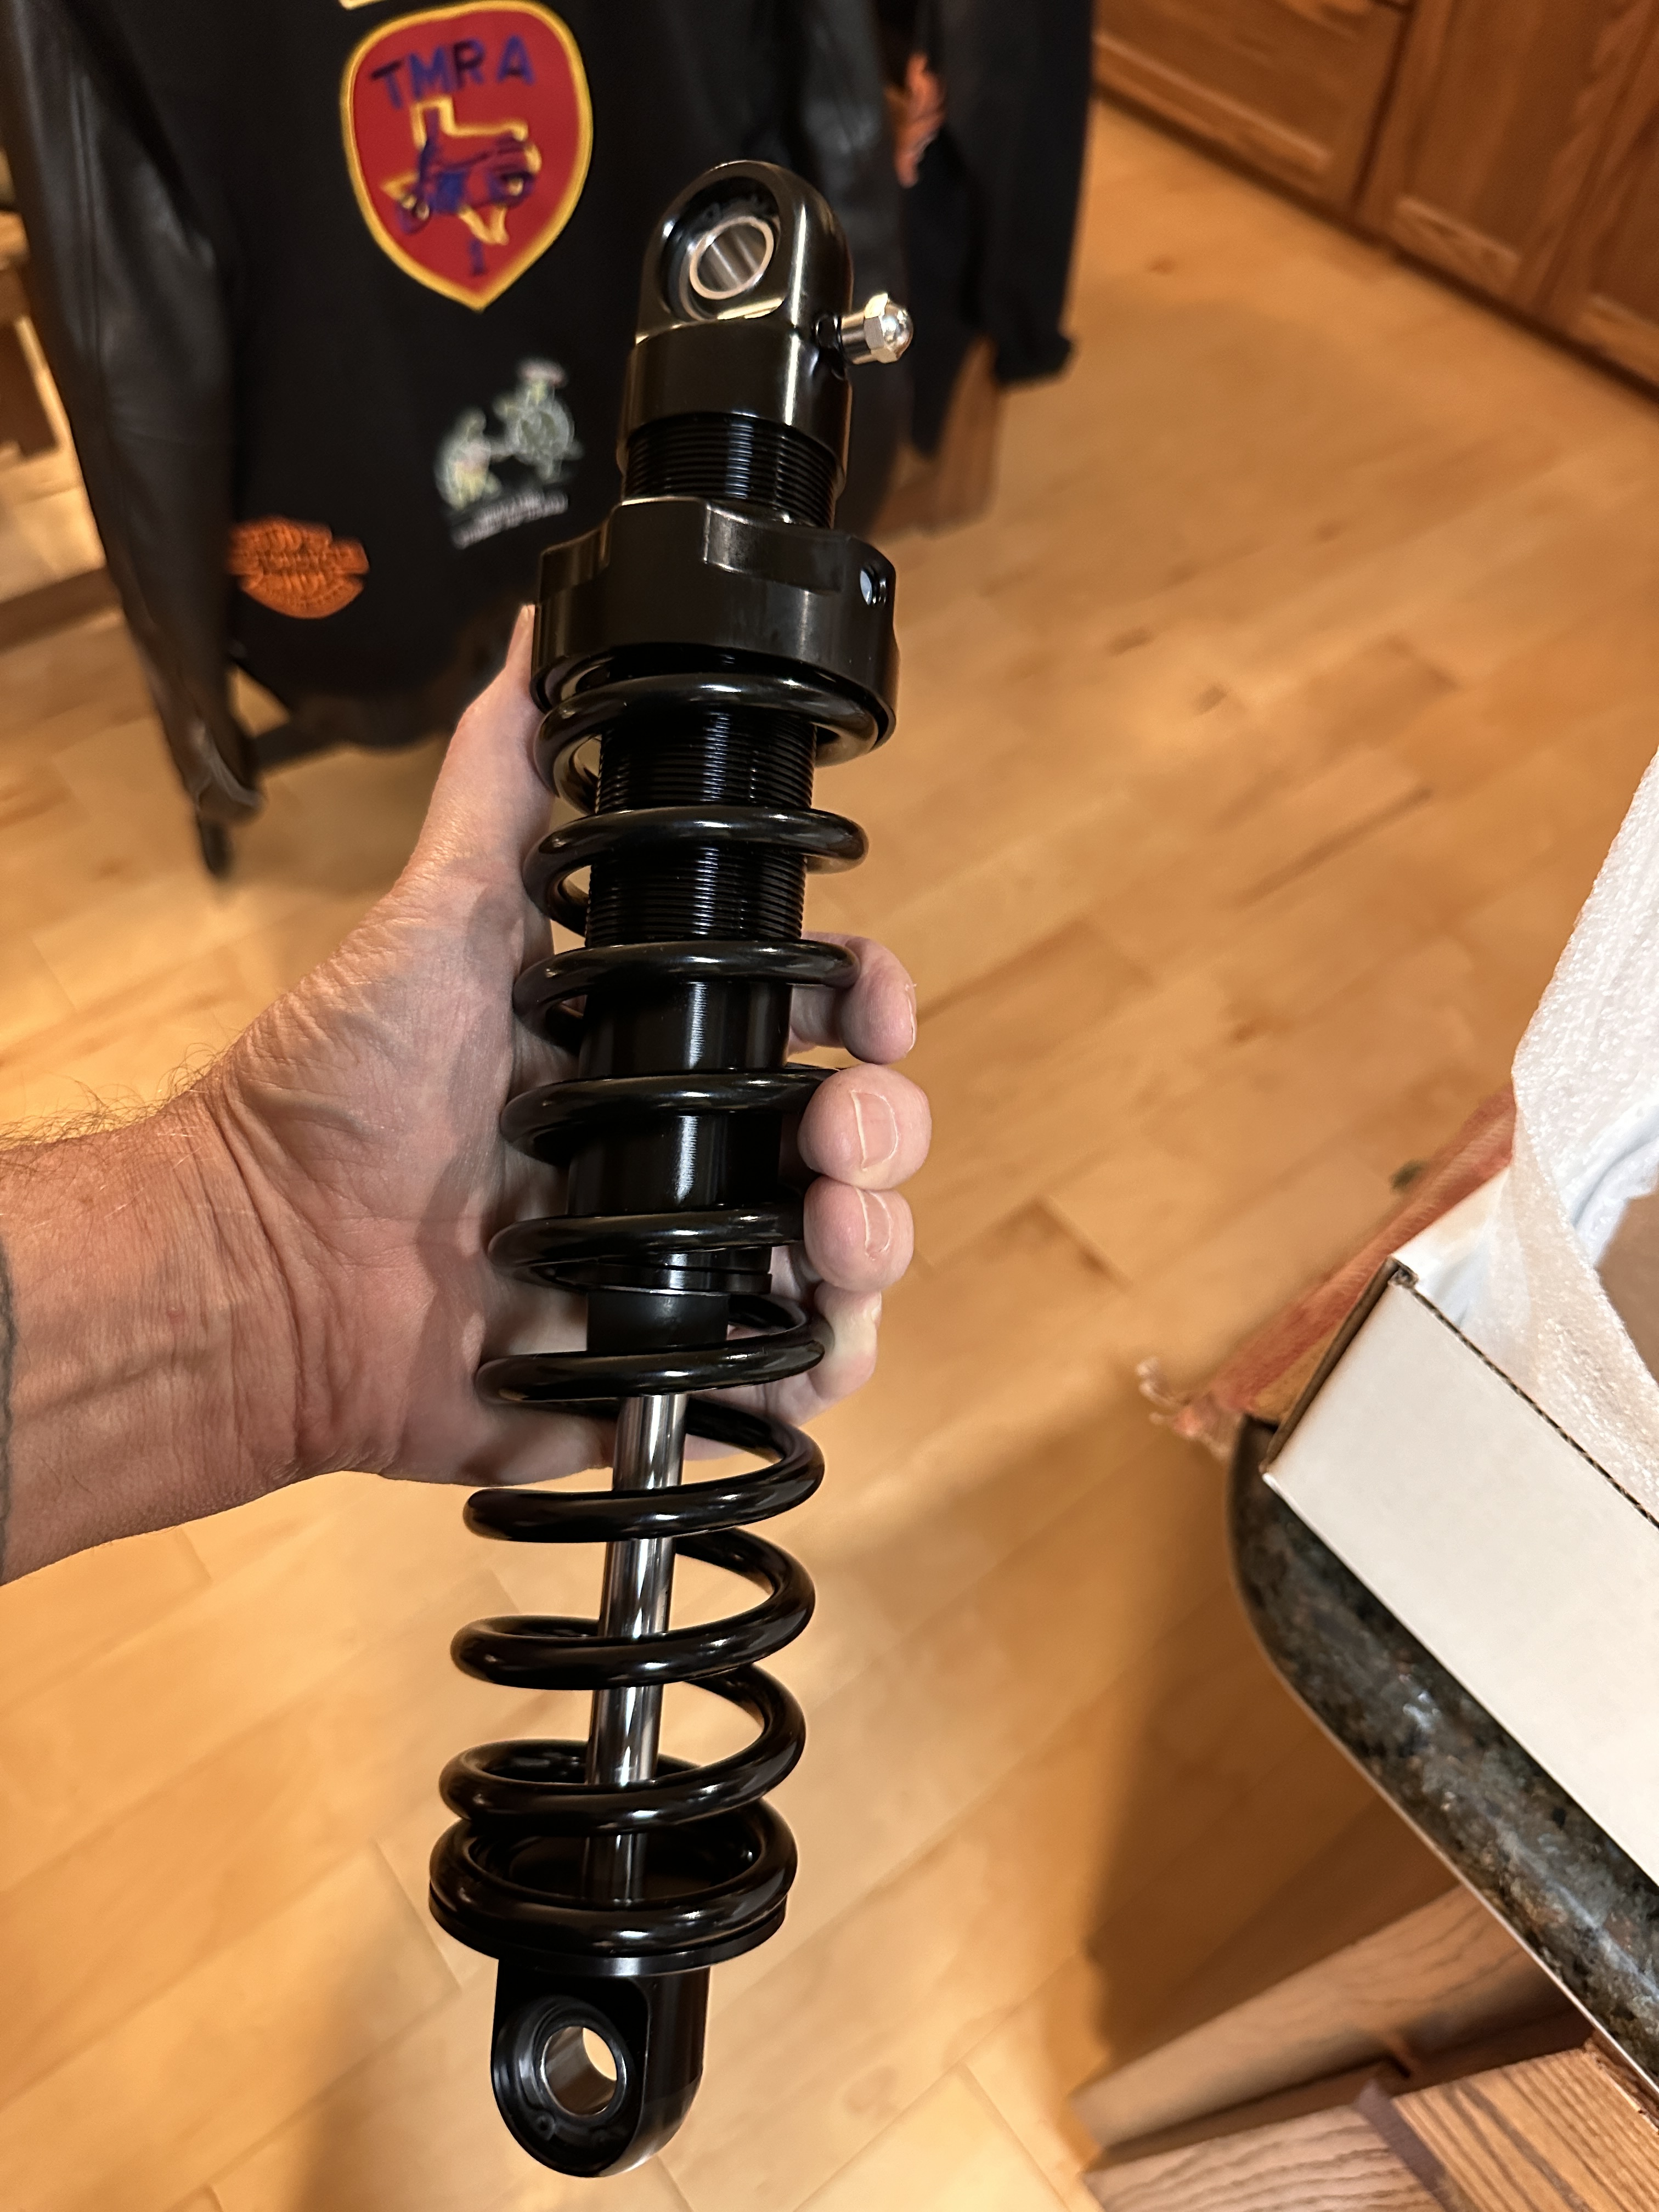
I found a trike forum and searched a bit, and finally asked for recommendations for replacement shocks. A bunch of folks chimed in, and DK Custom Products seemed to be the favorite. I went to their website and followed the prompts – model, ride preference, rider weight, luggage weight, two-up or solo – and, just to be sure, called customer service.
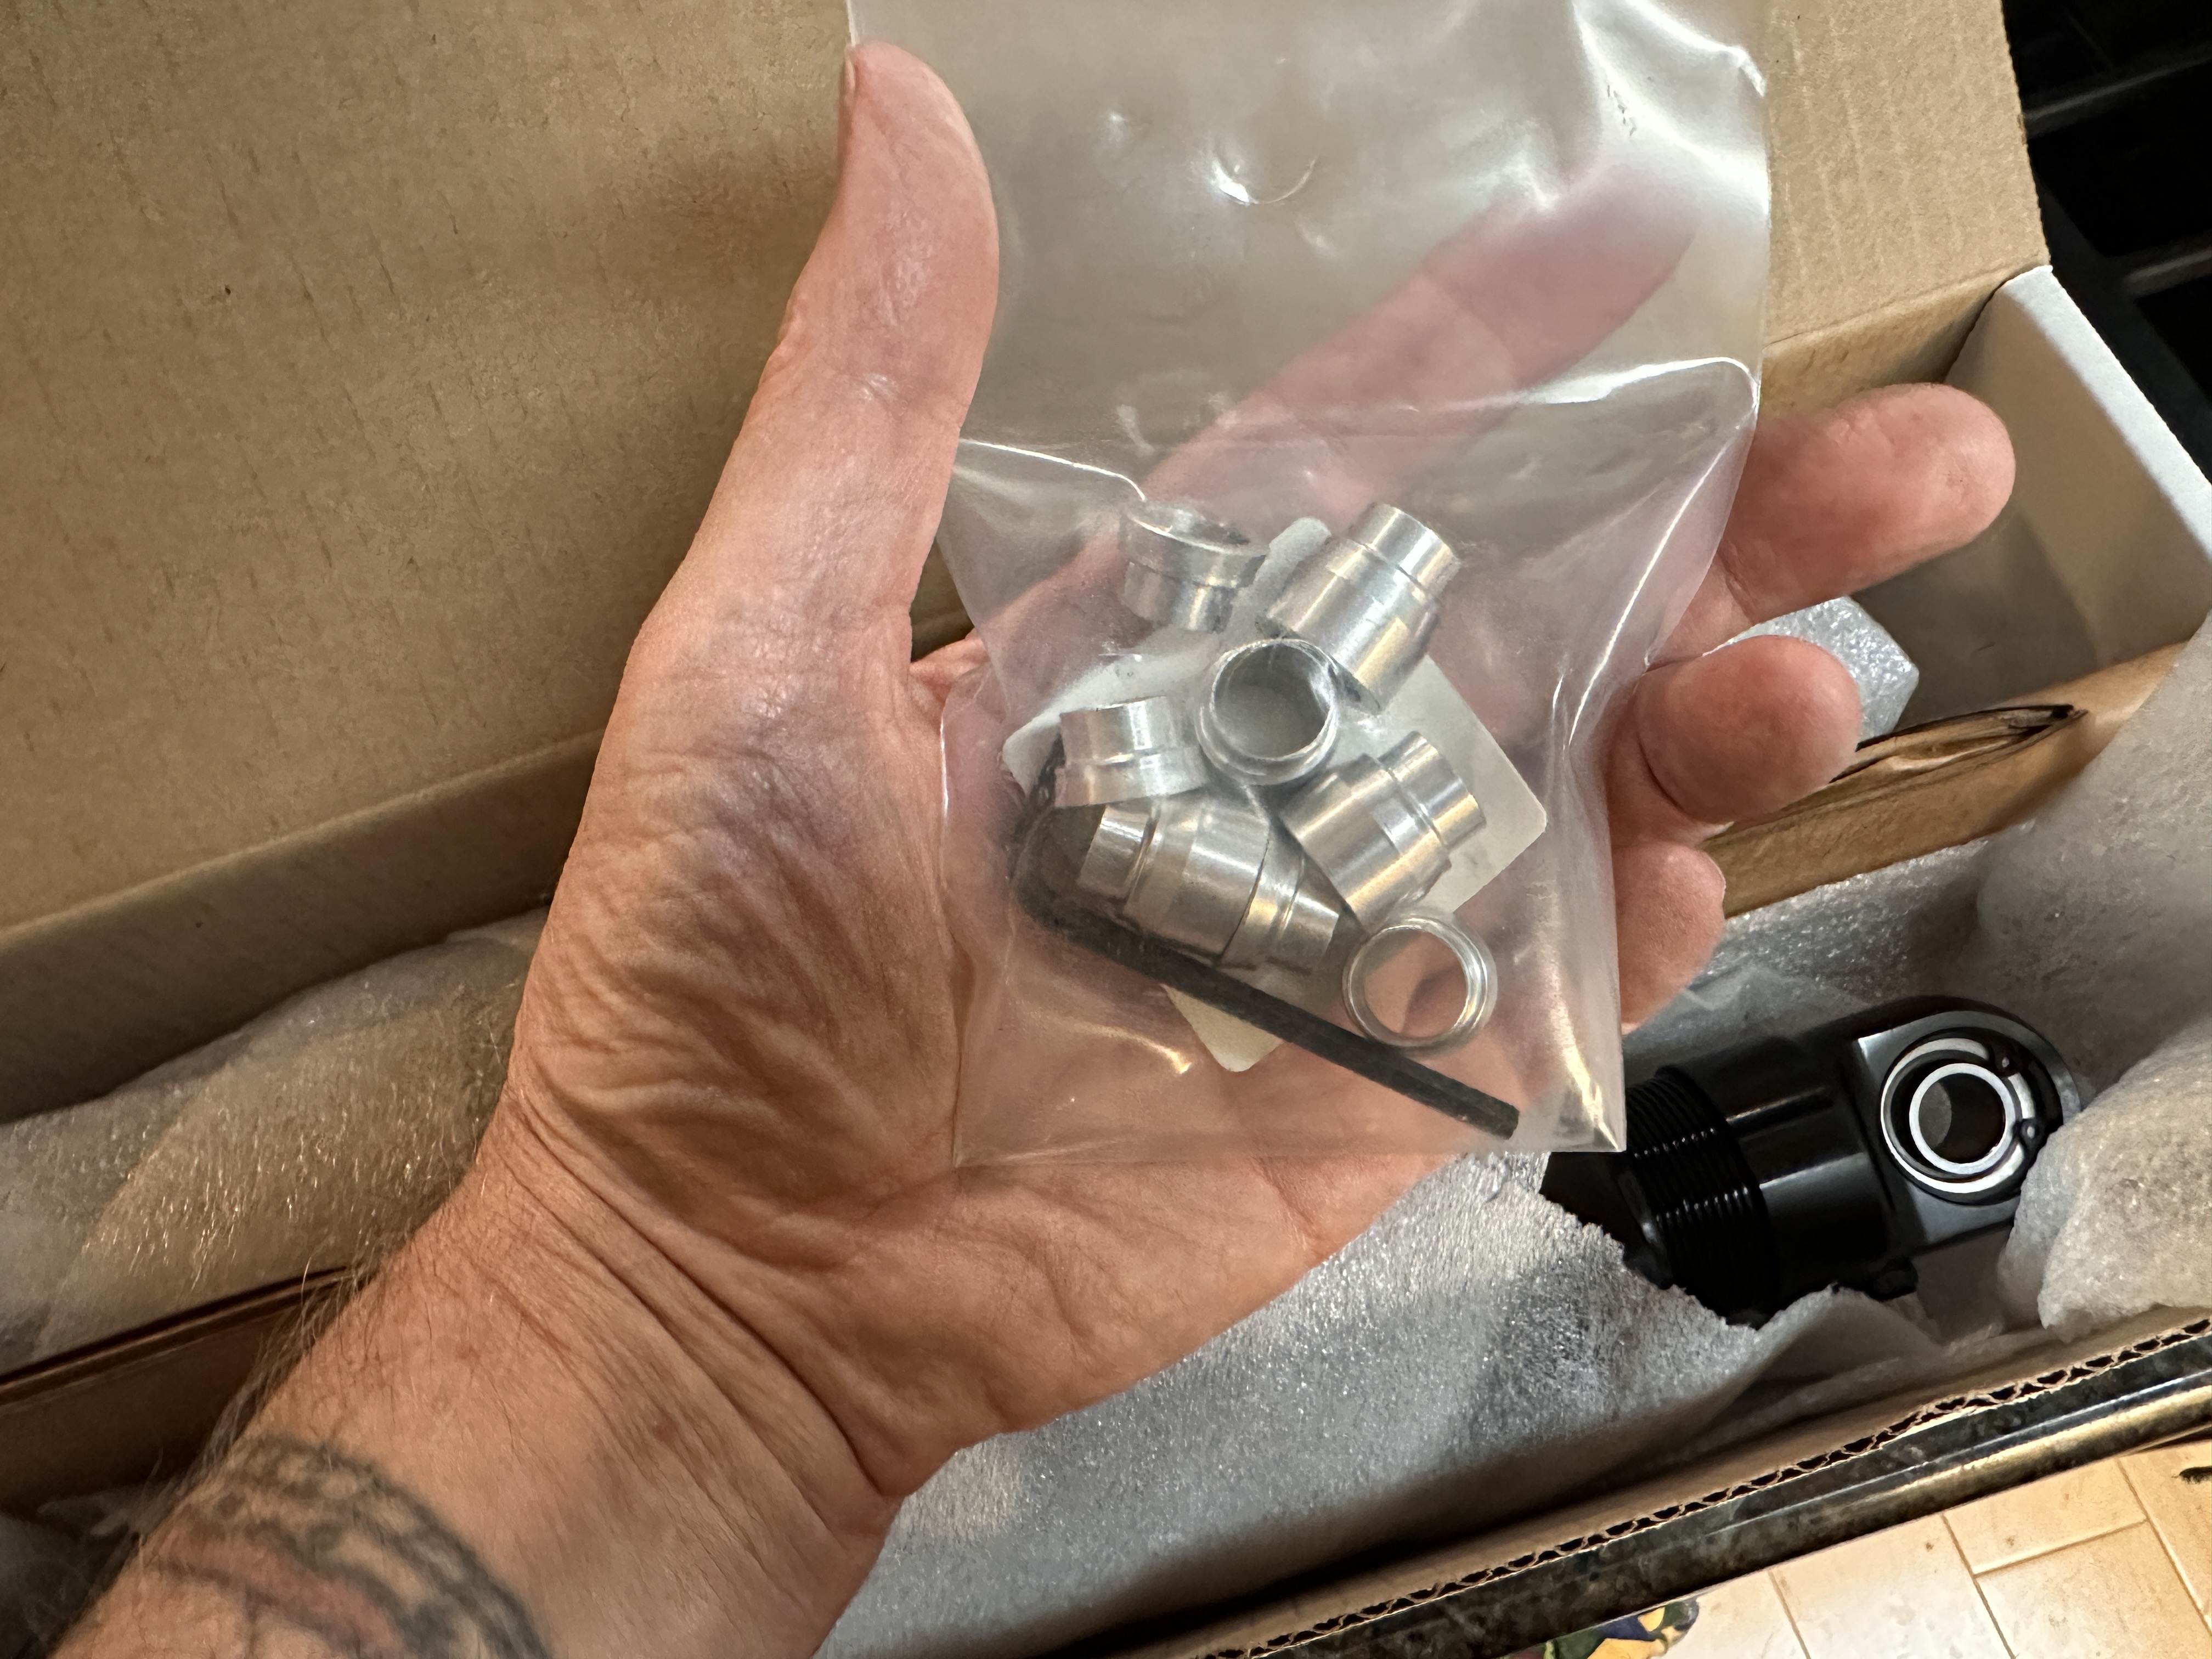
Then I ordered accordingly: 13″ shocks and a lift kit. It wasn’t cheap, but much less than kits from other outfits like Progressive and Legends.
Installation:
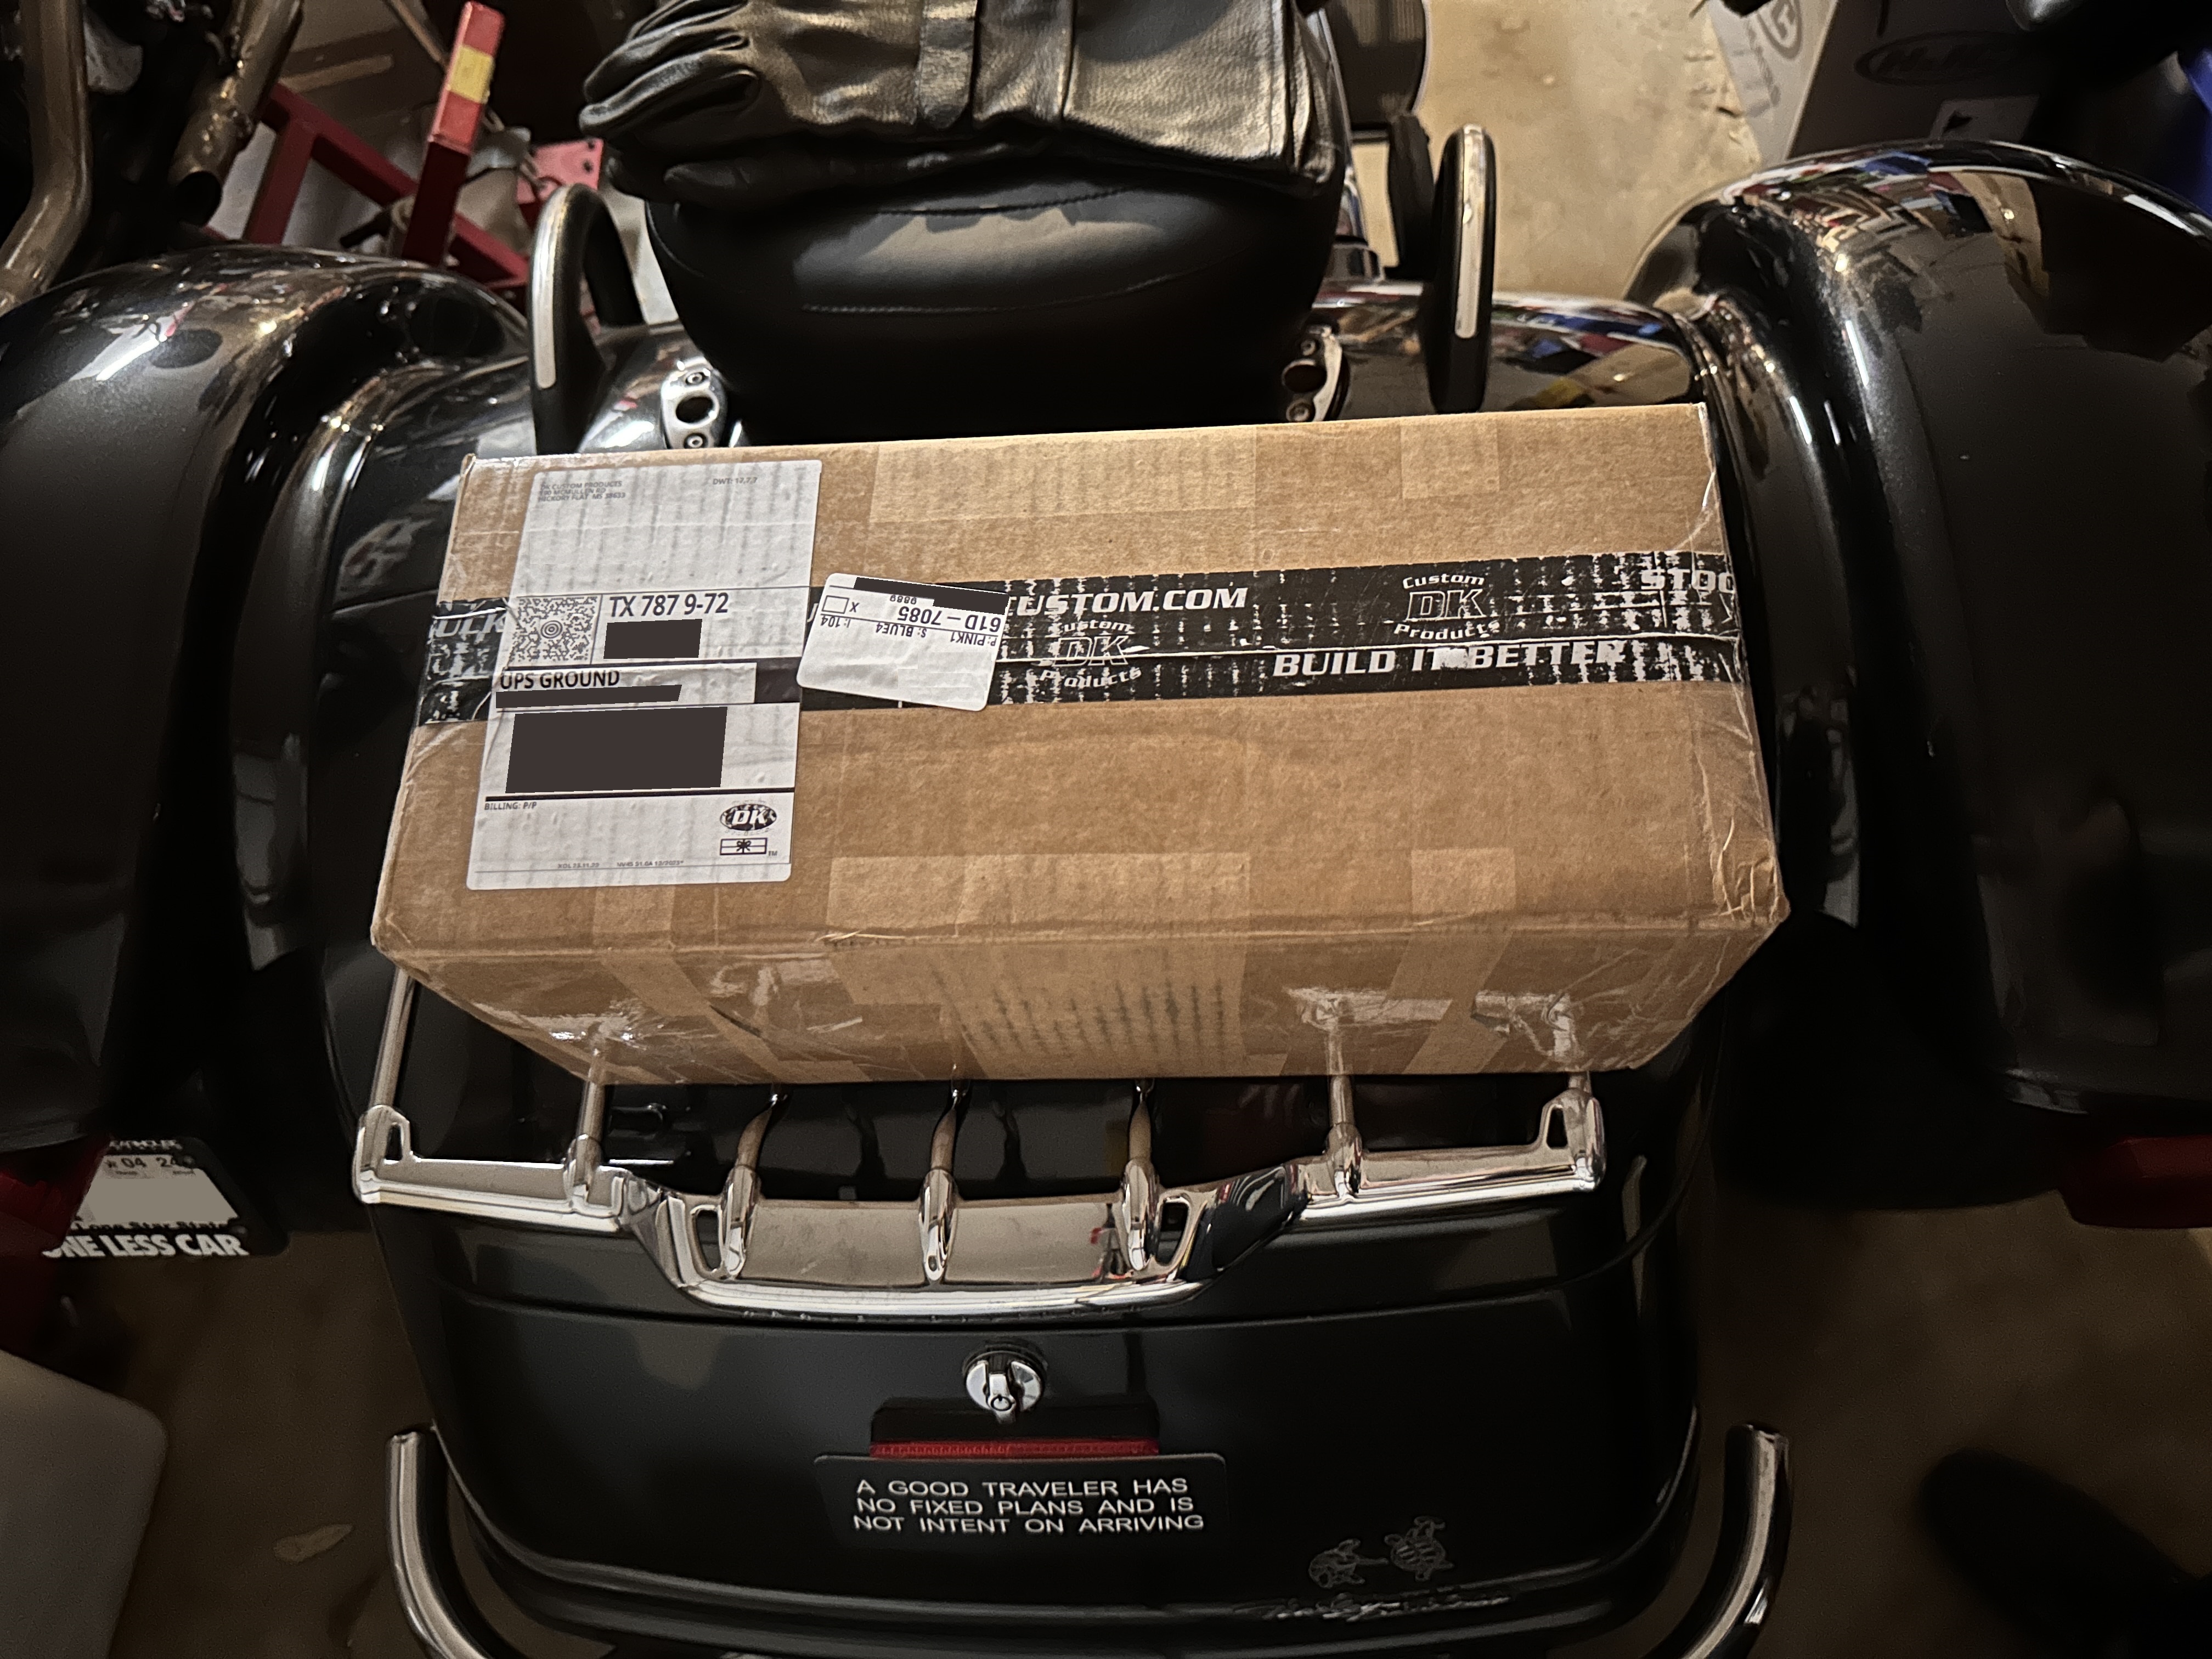
For starters, DL’s shipping was fast; the kit was on my doorstep within two days. And the stuff looked well made, too. The instructions seemed clear, and I had all the tools and experience, so I dug in.
DK would have me believe I can R&R the shocks without removing the taco box from the trike. Maybe so, but I didn’t see it, so I removed the taco box first. No big thing: a handful of bolts and an electrical connector, and someone to help me wrestle the weighty, awkward sumbitch off the frame. Done and dusted!
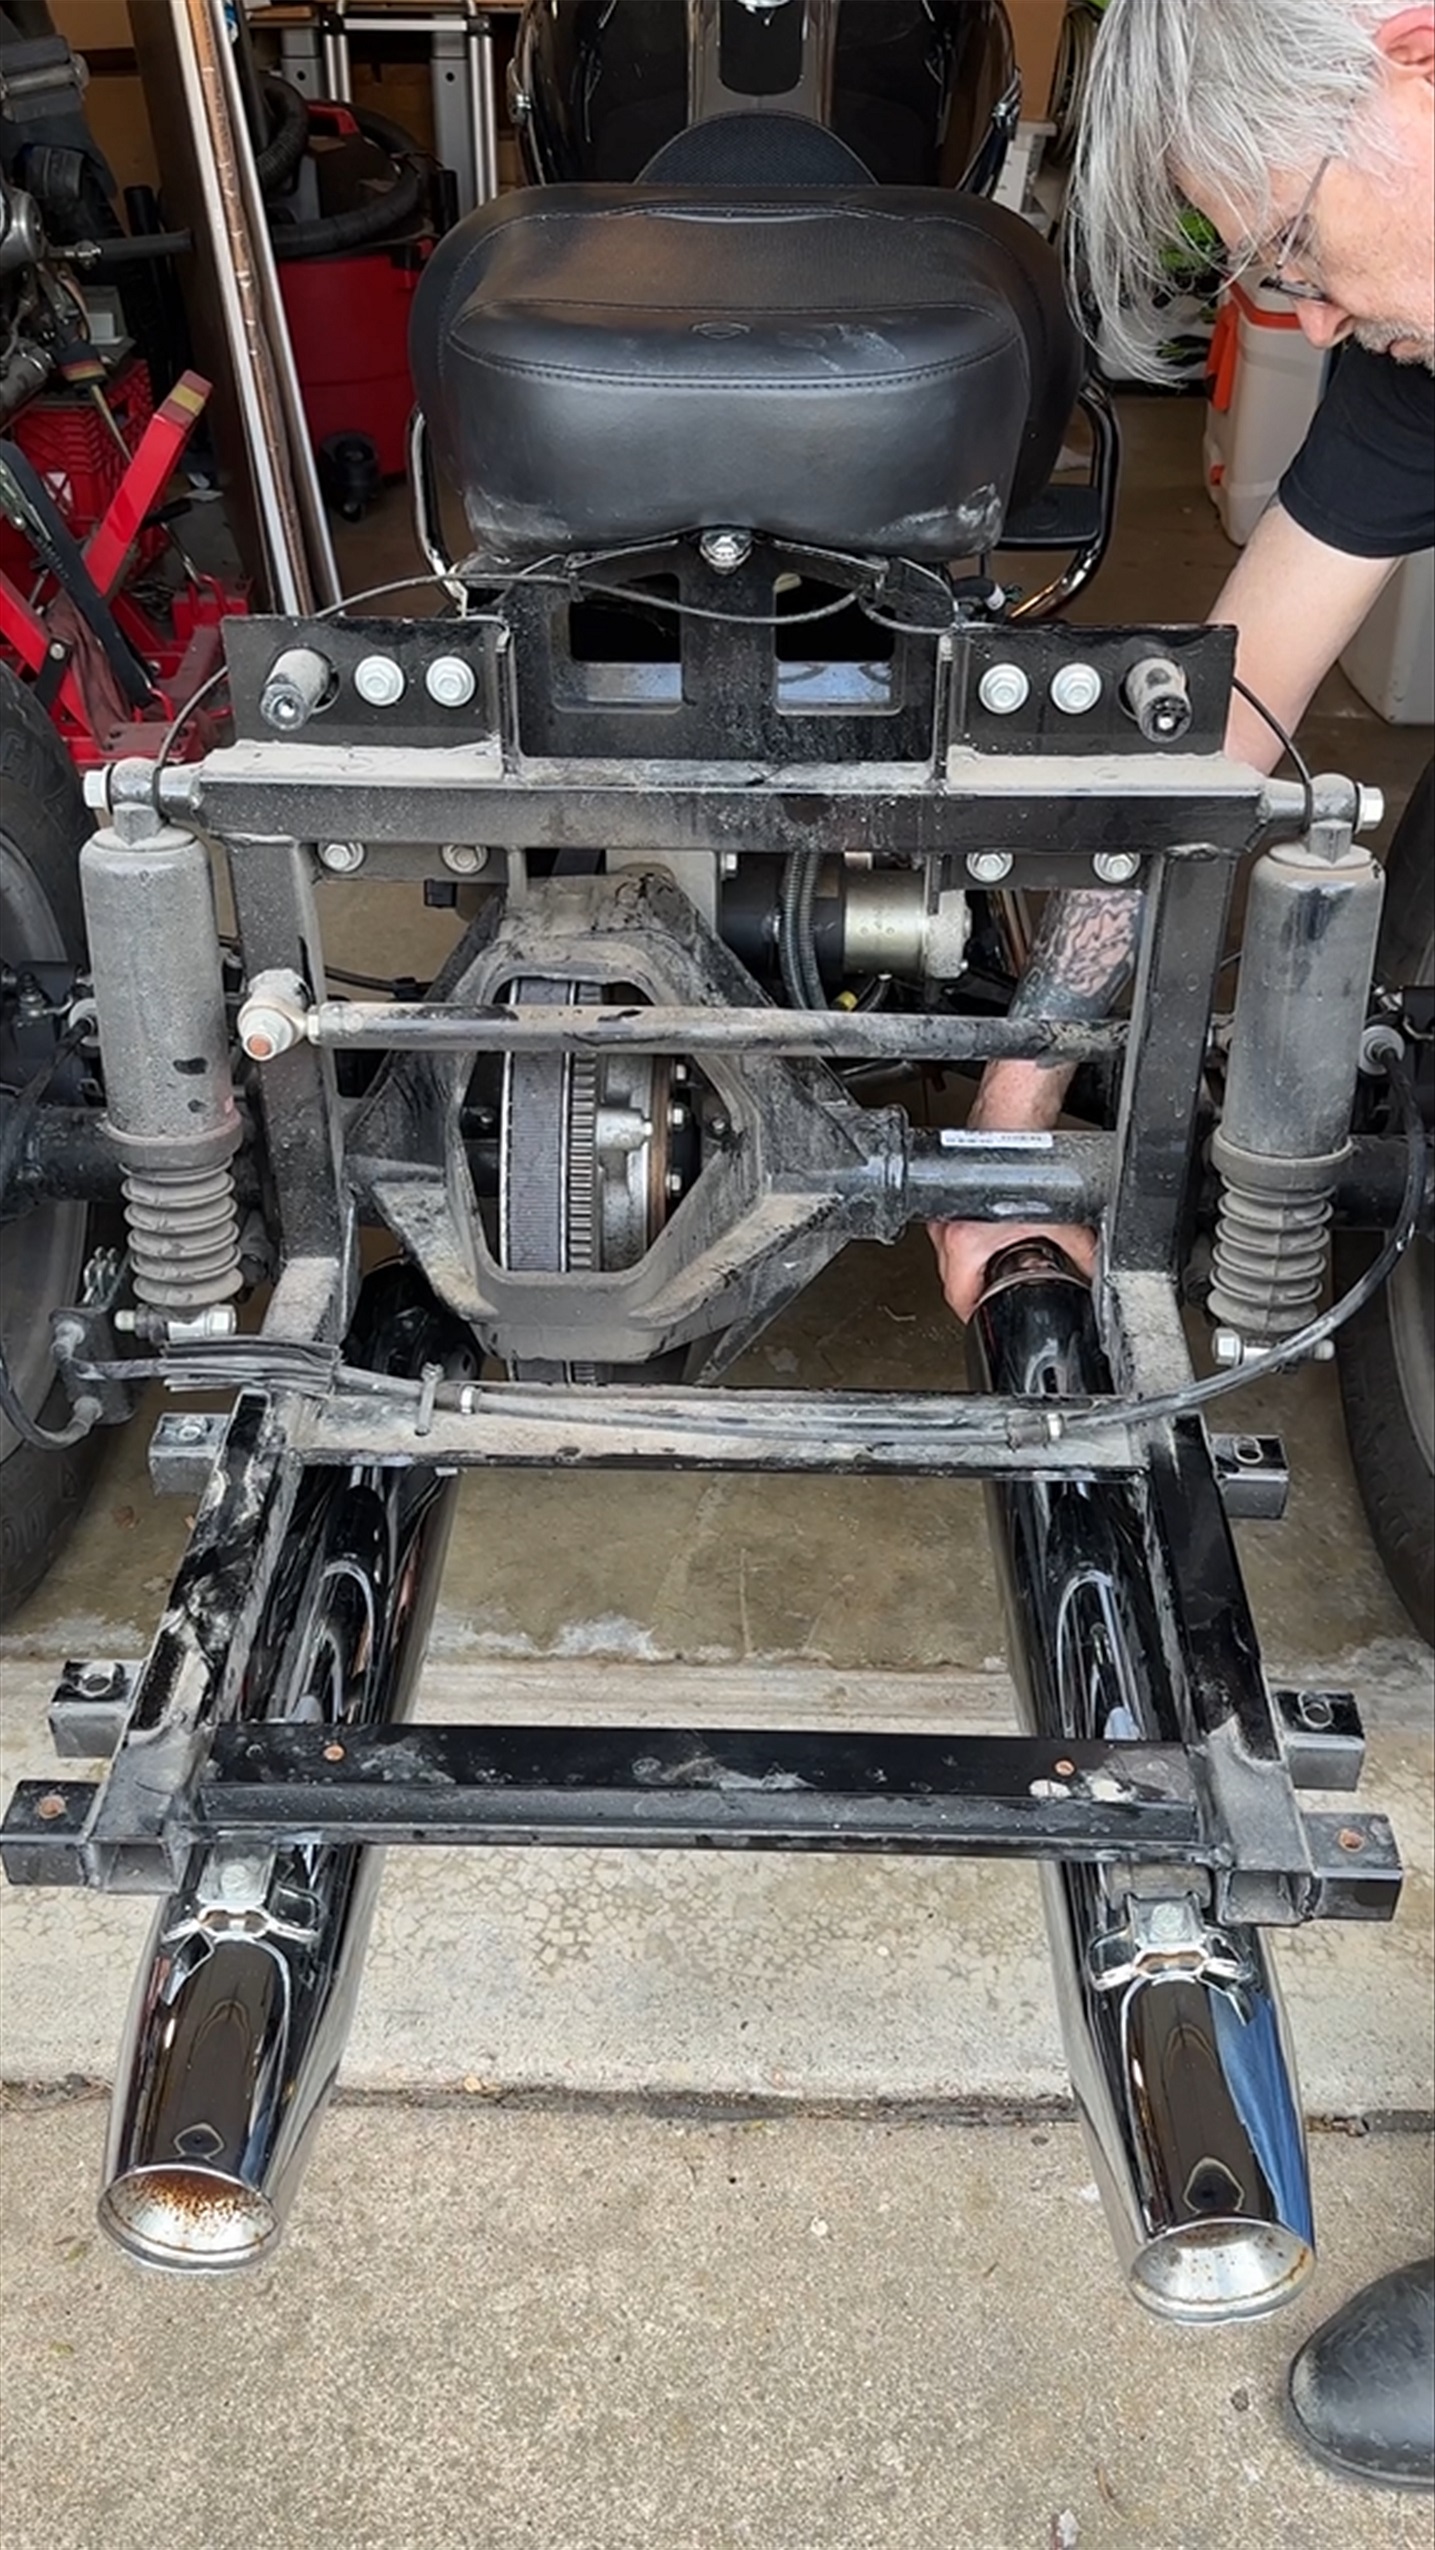
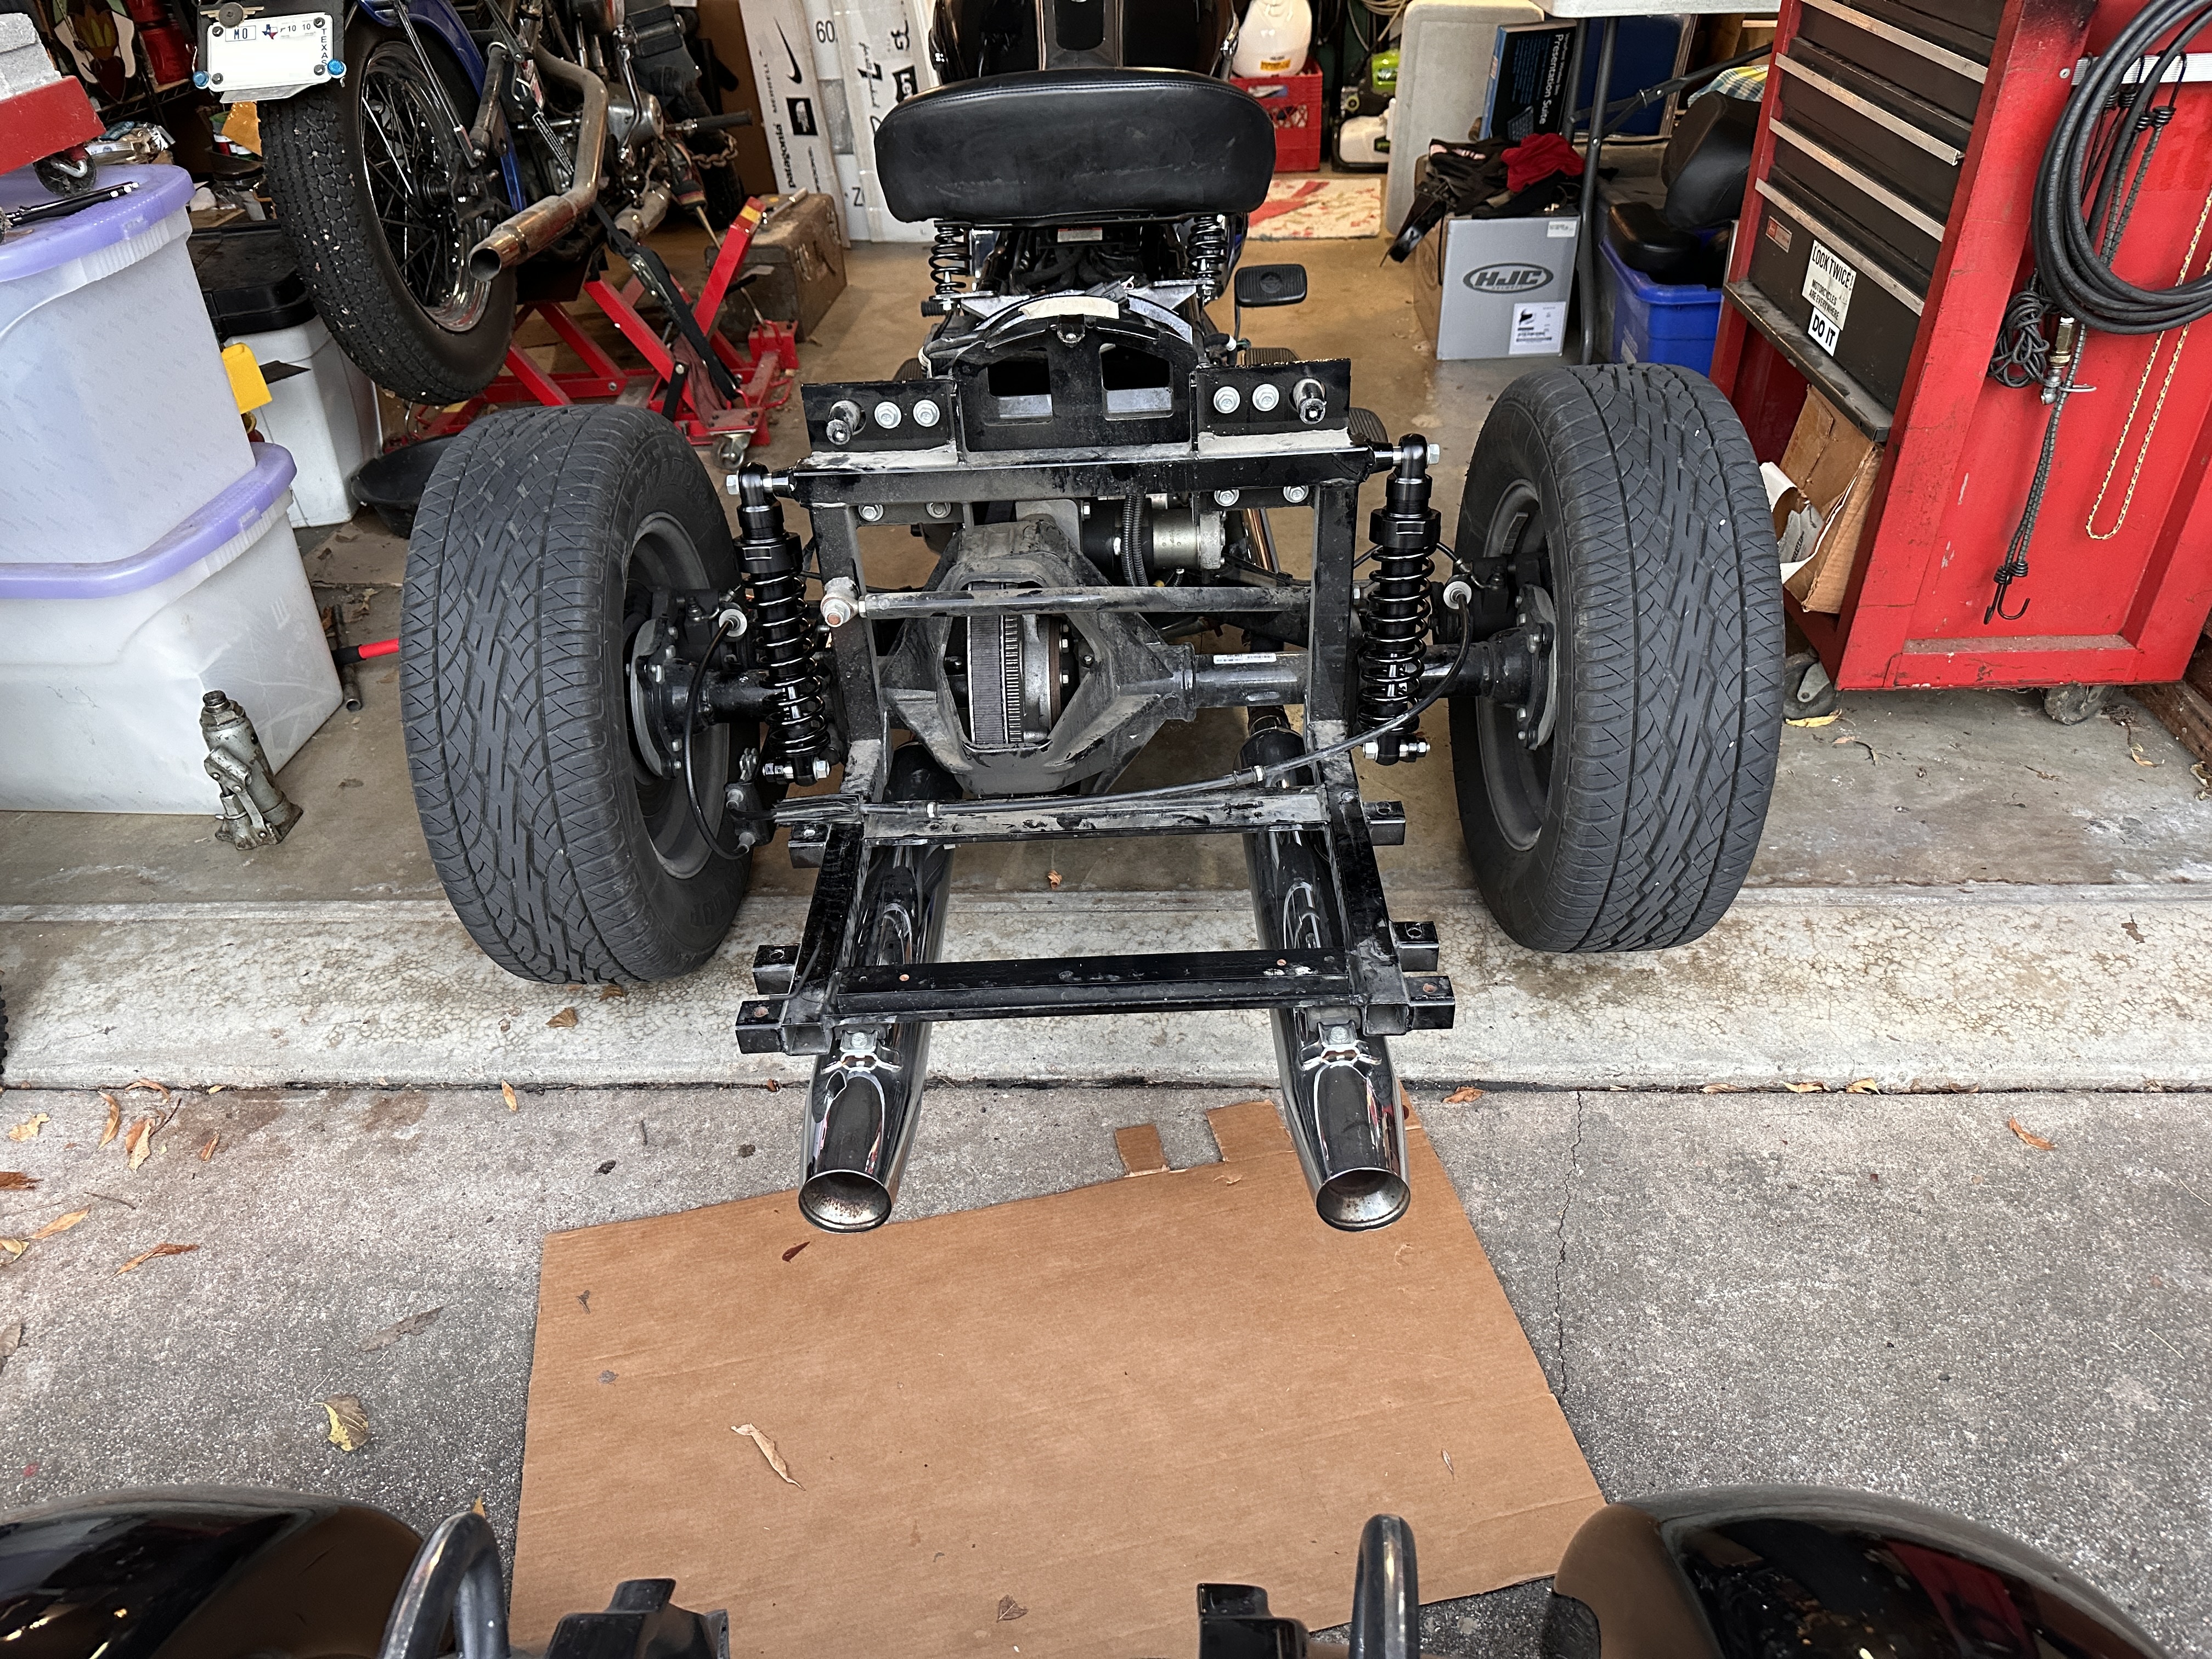
Had to jack the rear wheels off the ground and stabilize the rig, because the rear wheels are coming off.
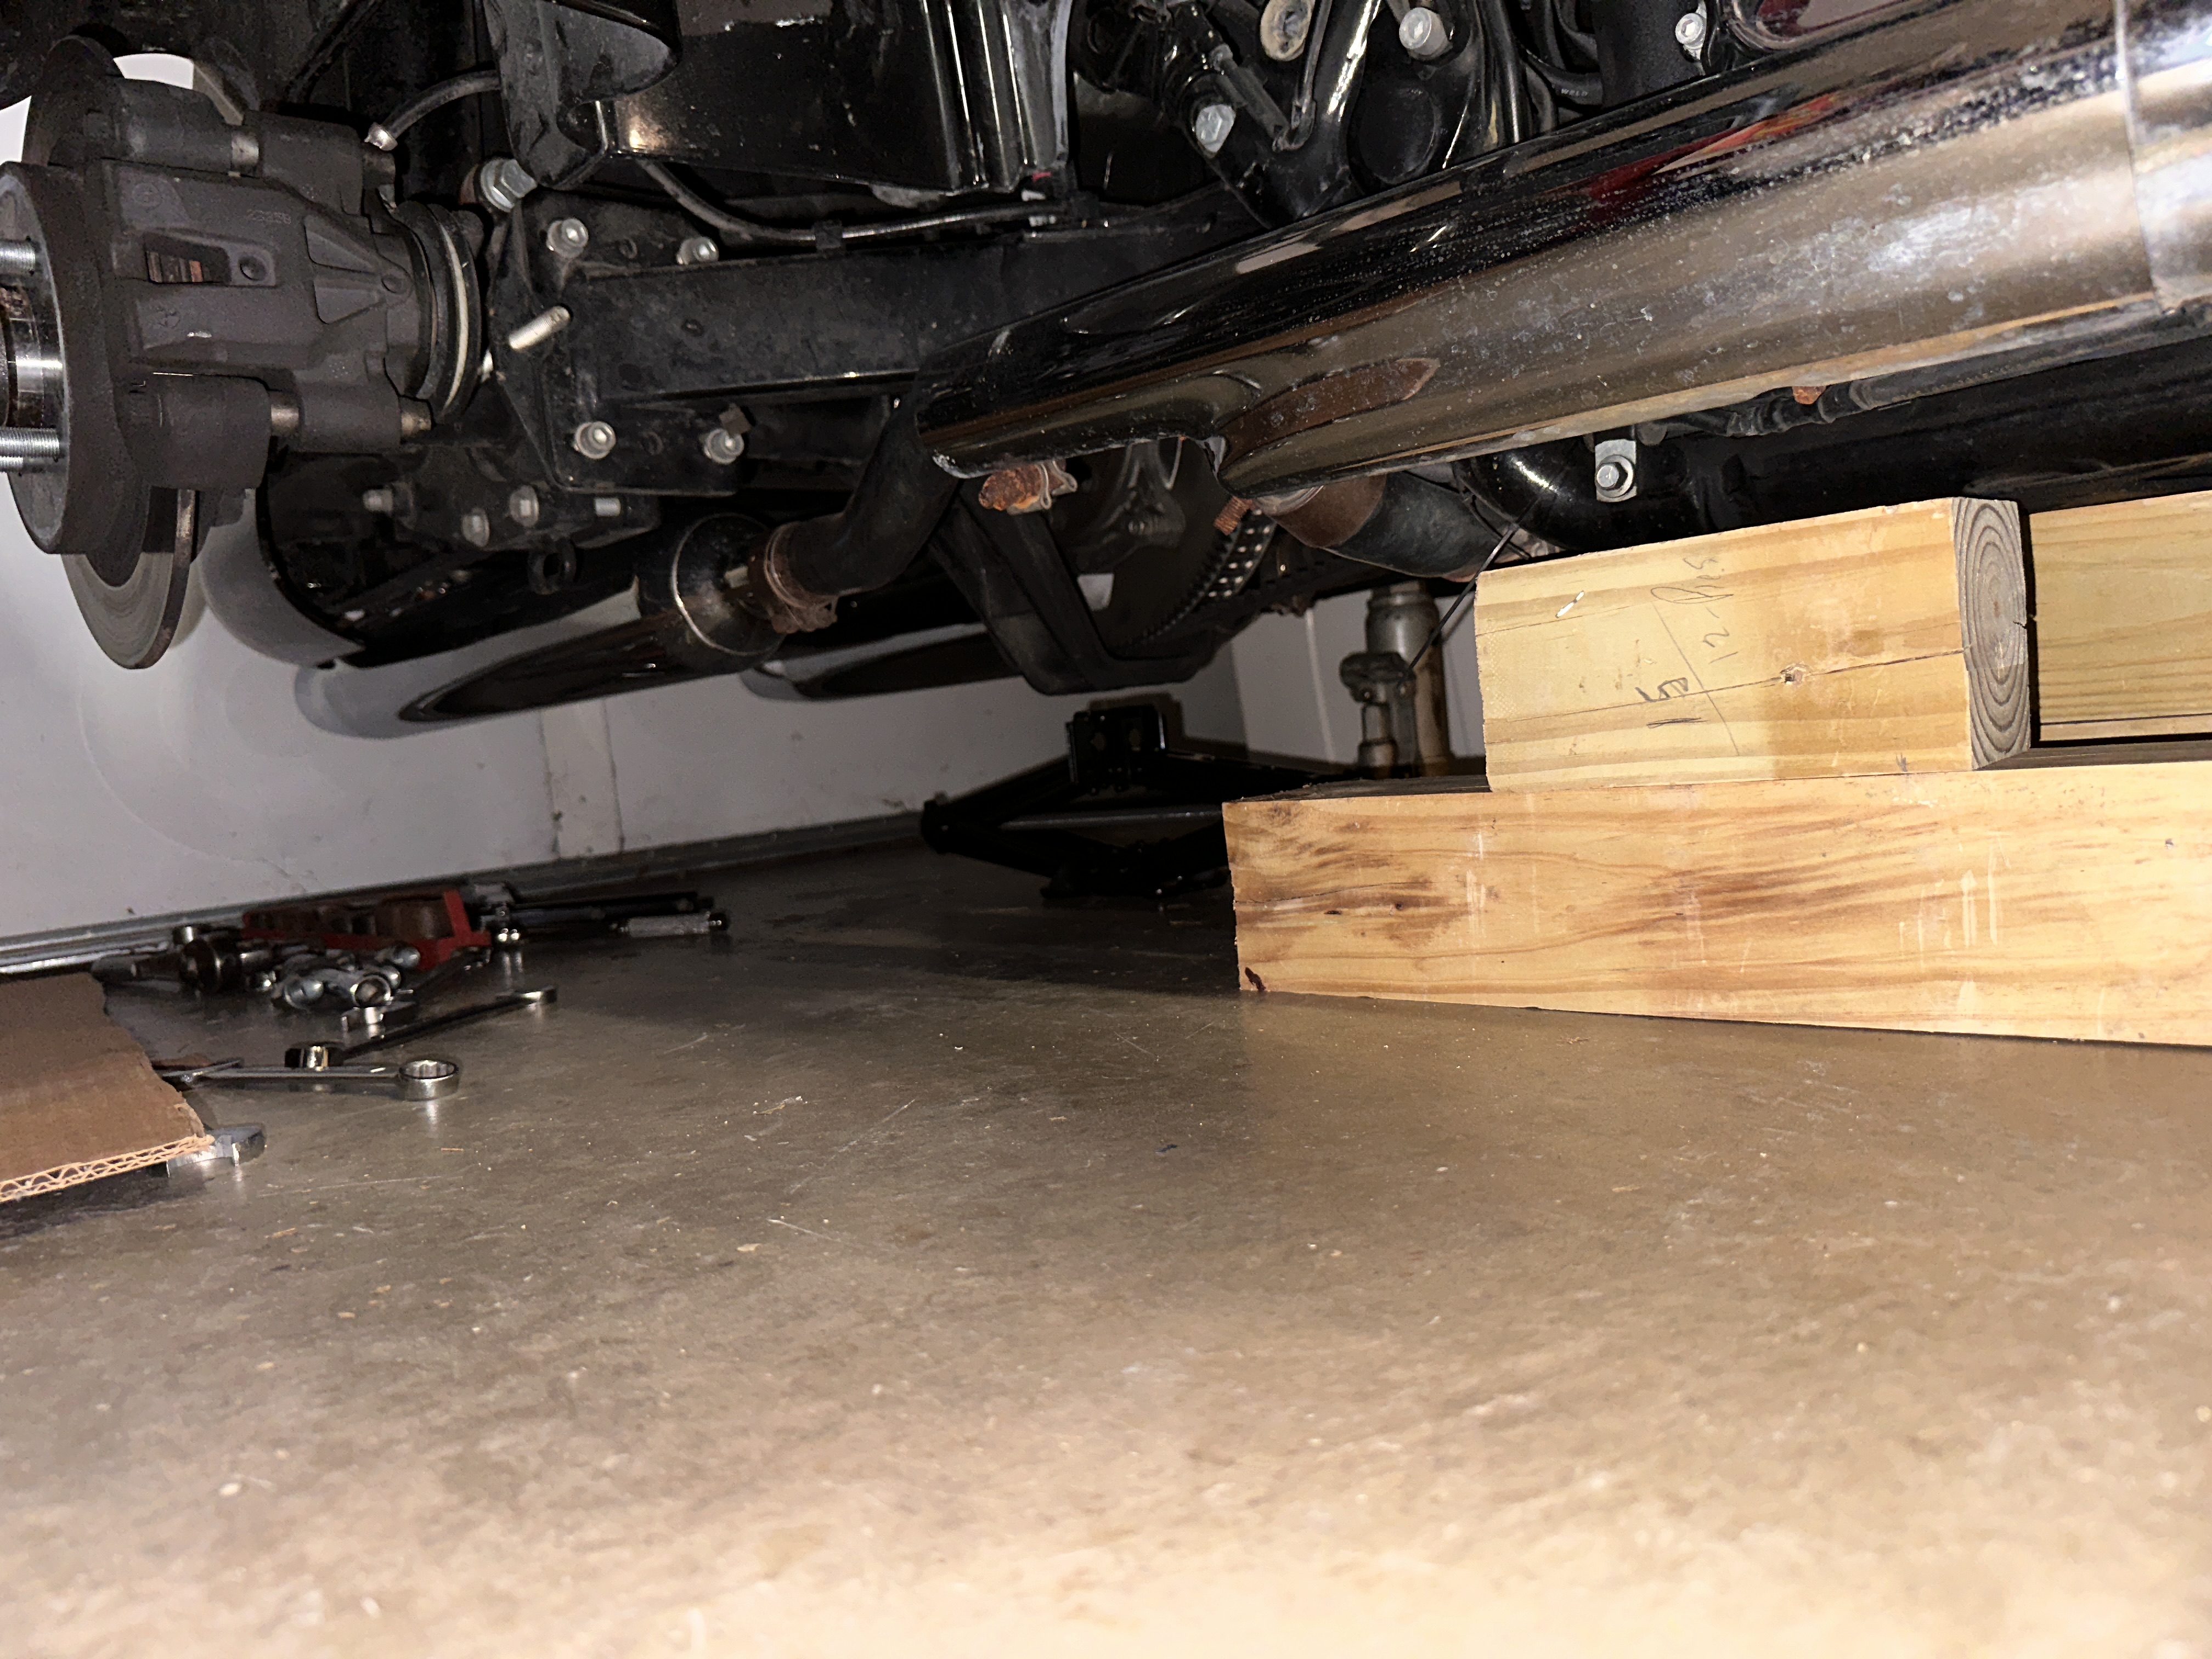
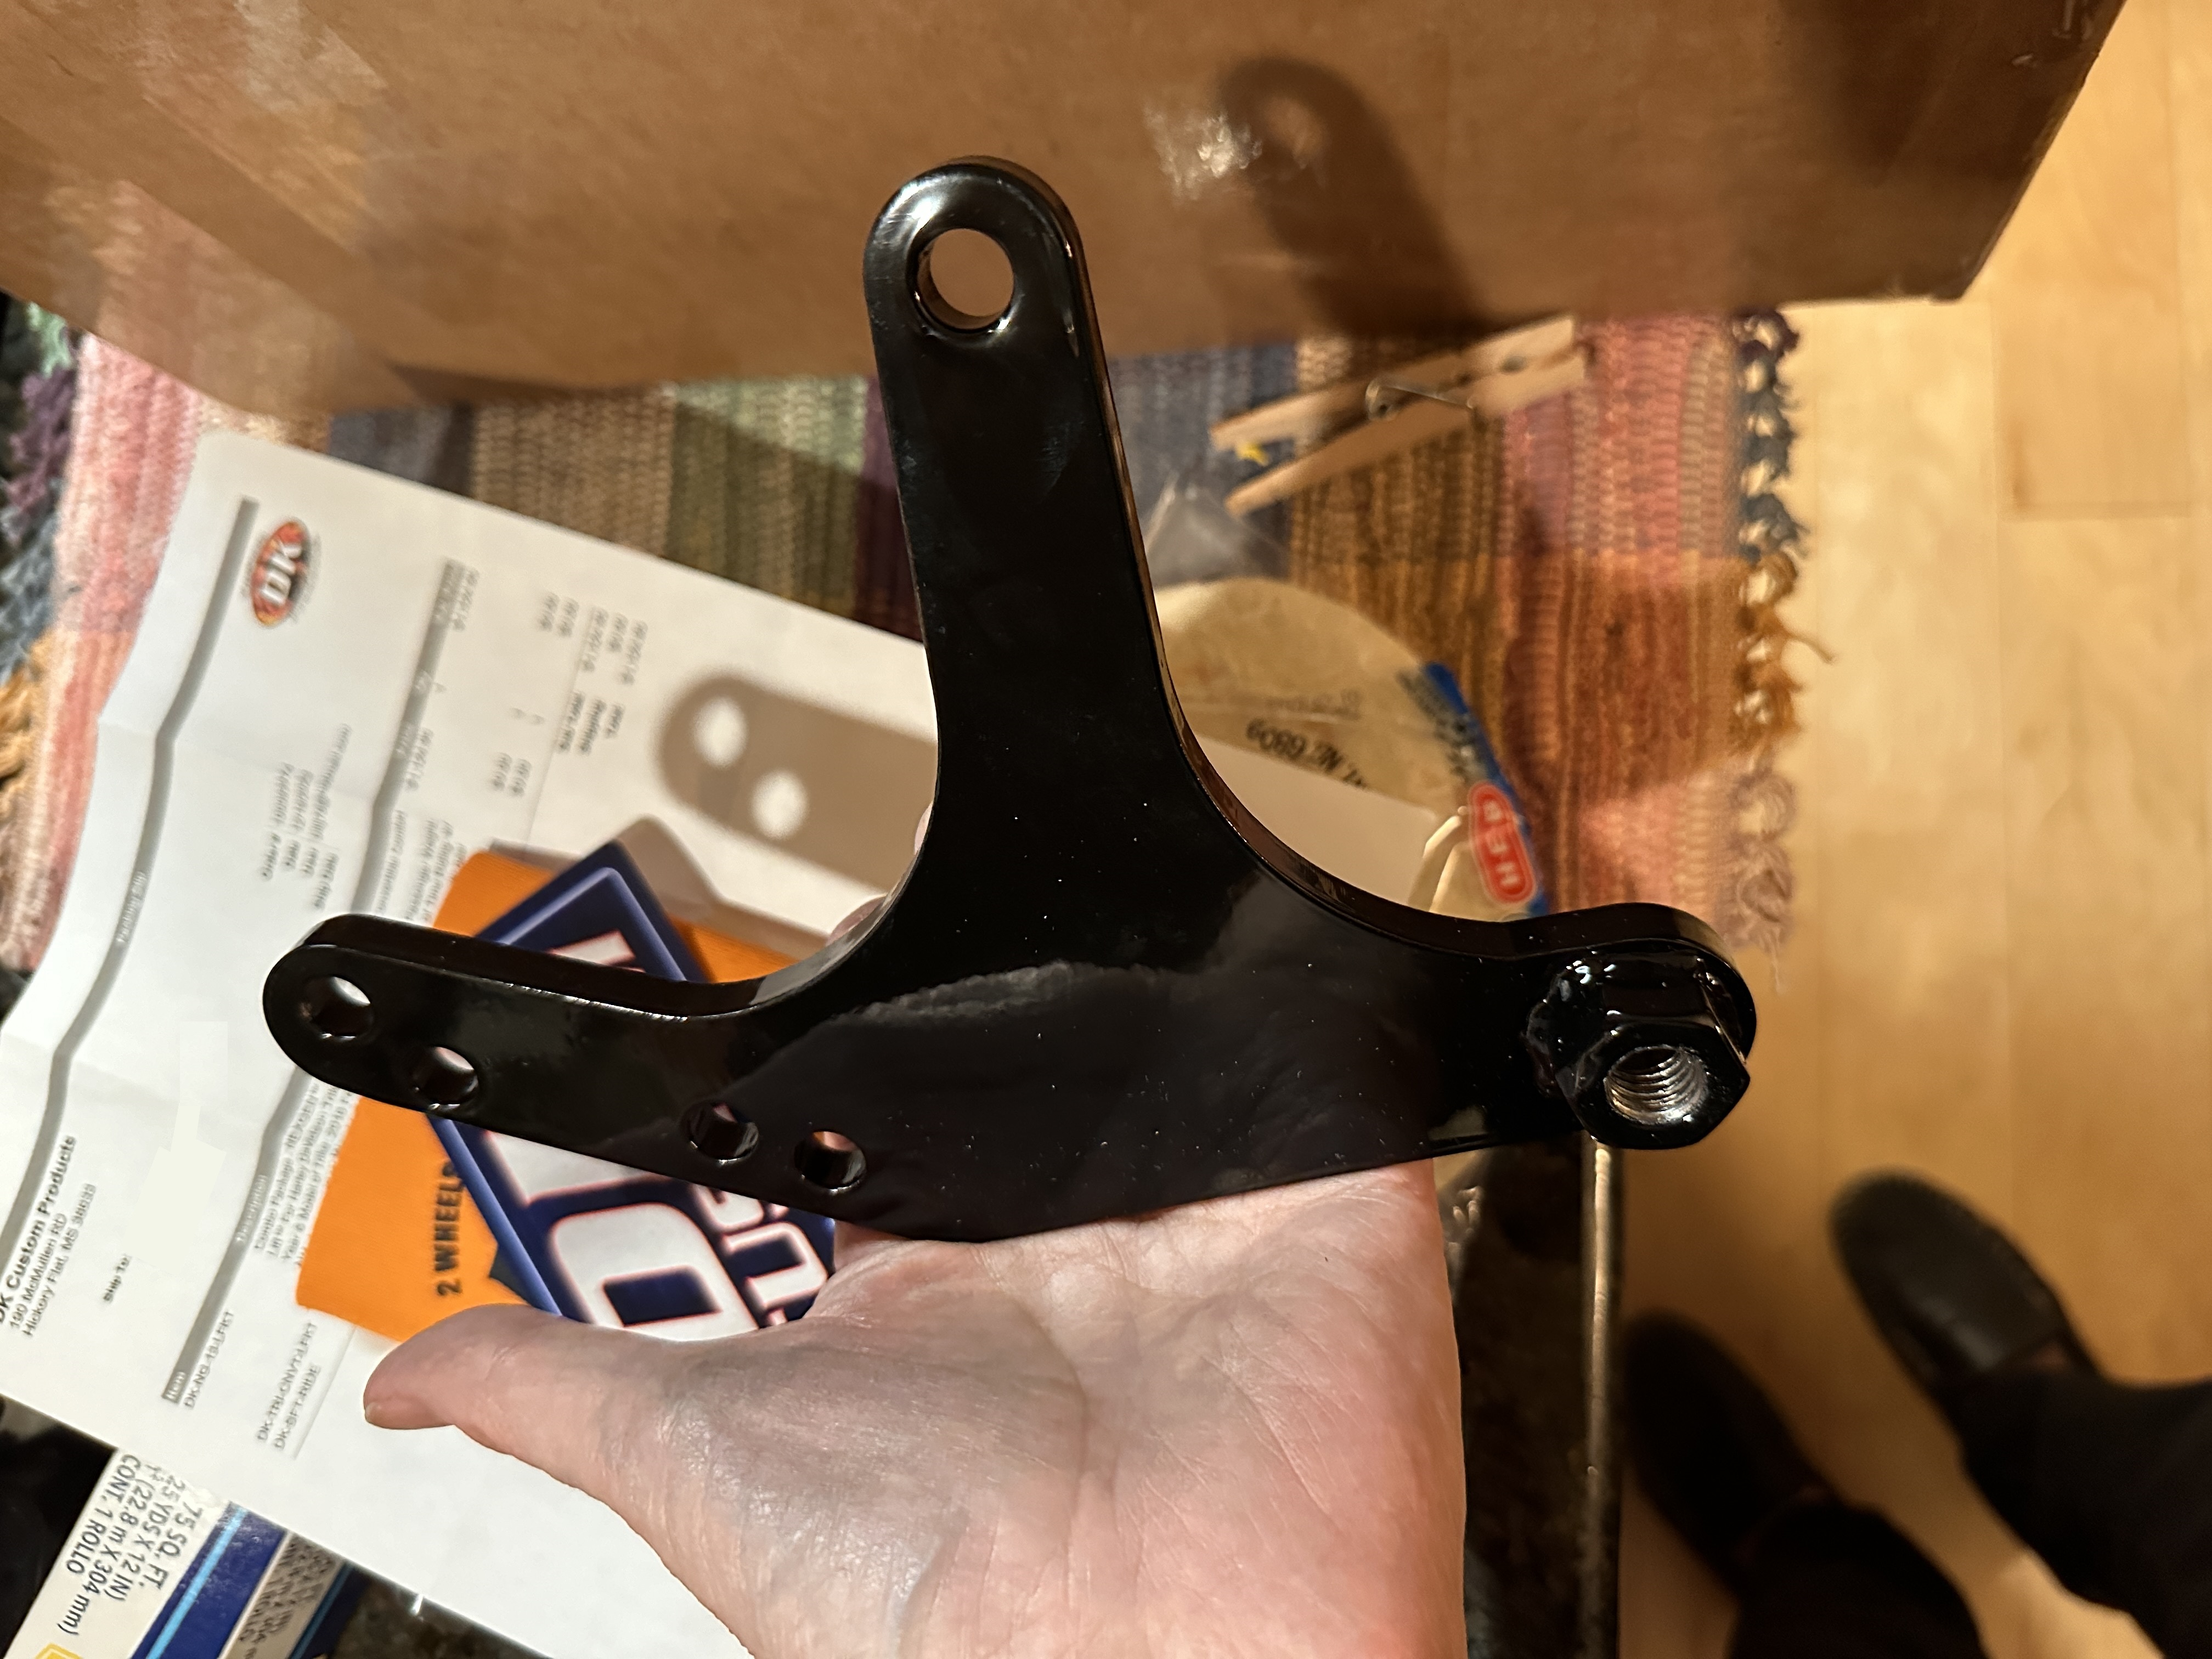
Once the rear wheels are removed, the job is almost straight-up R&R, except that I’m adding the lift kit.
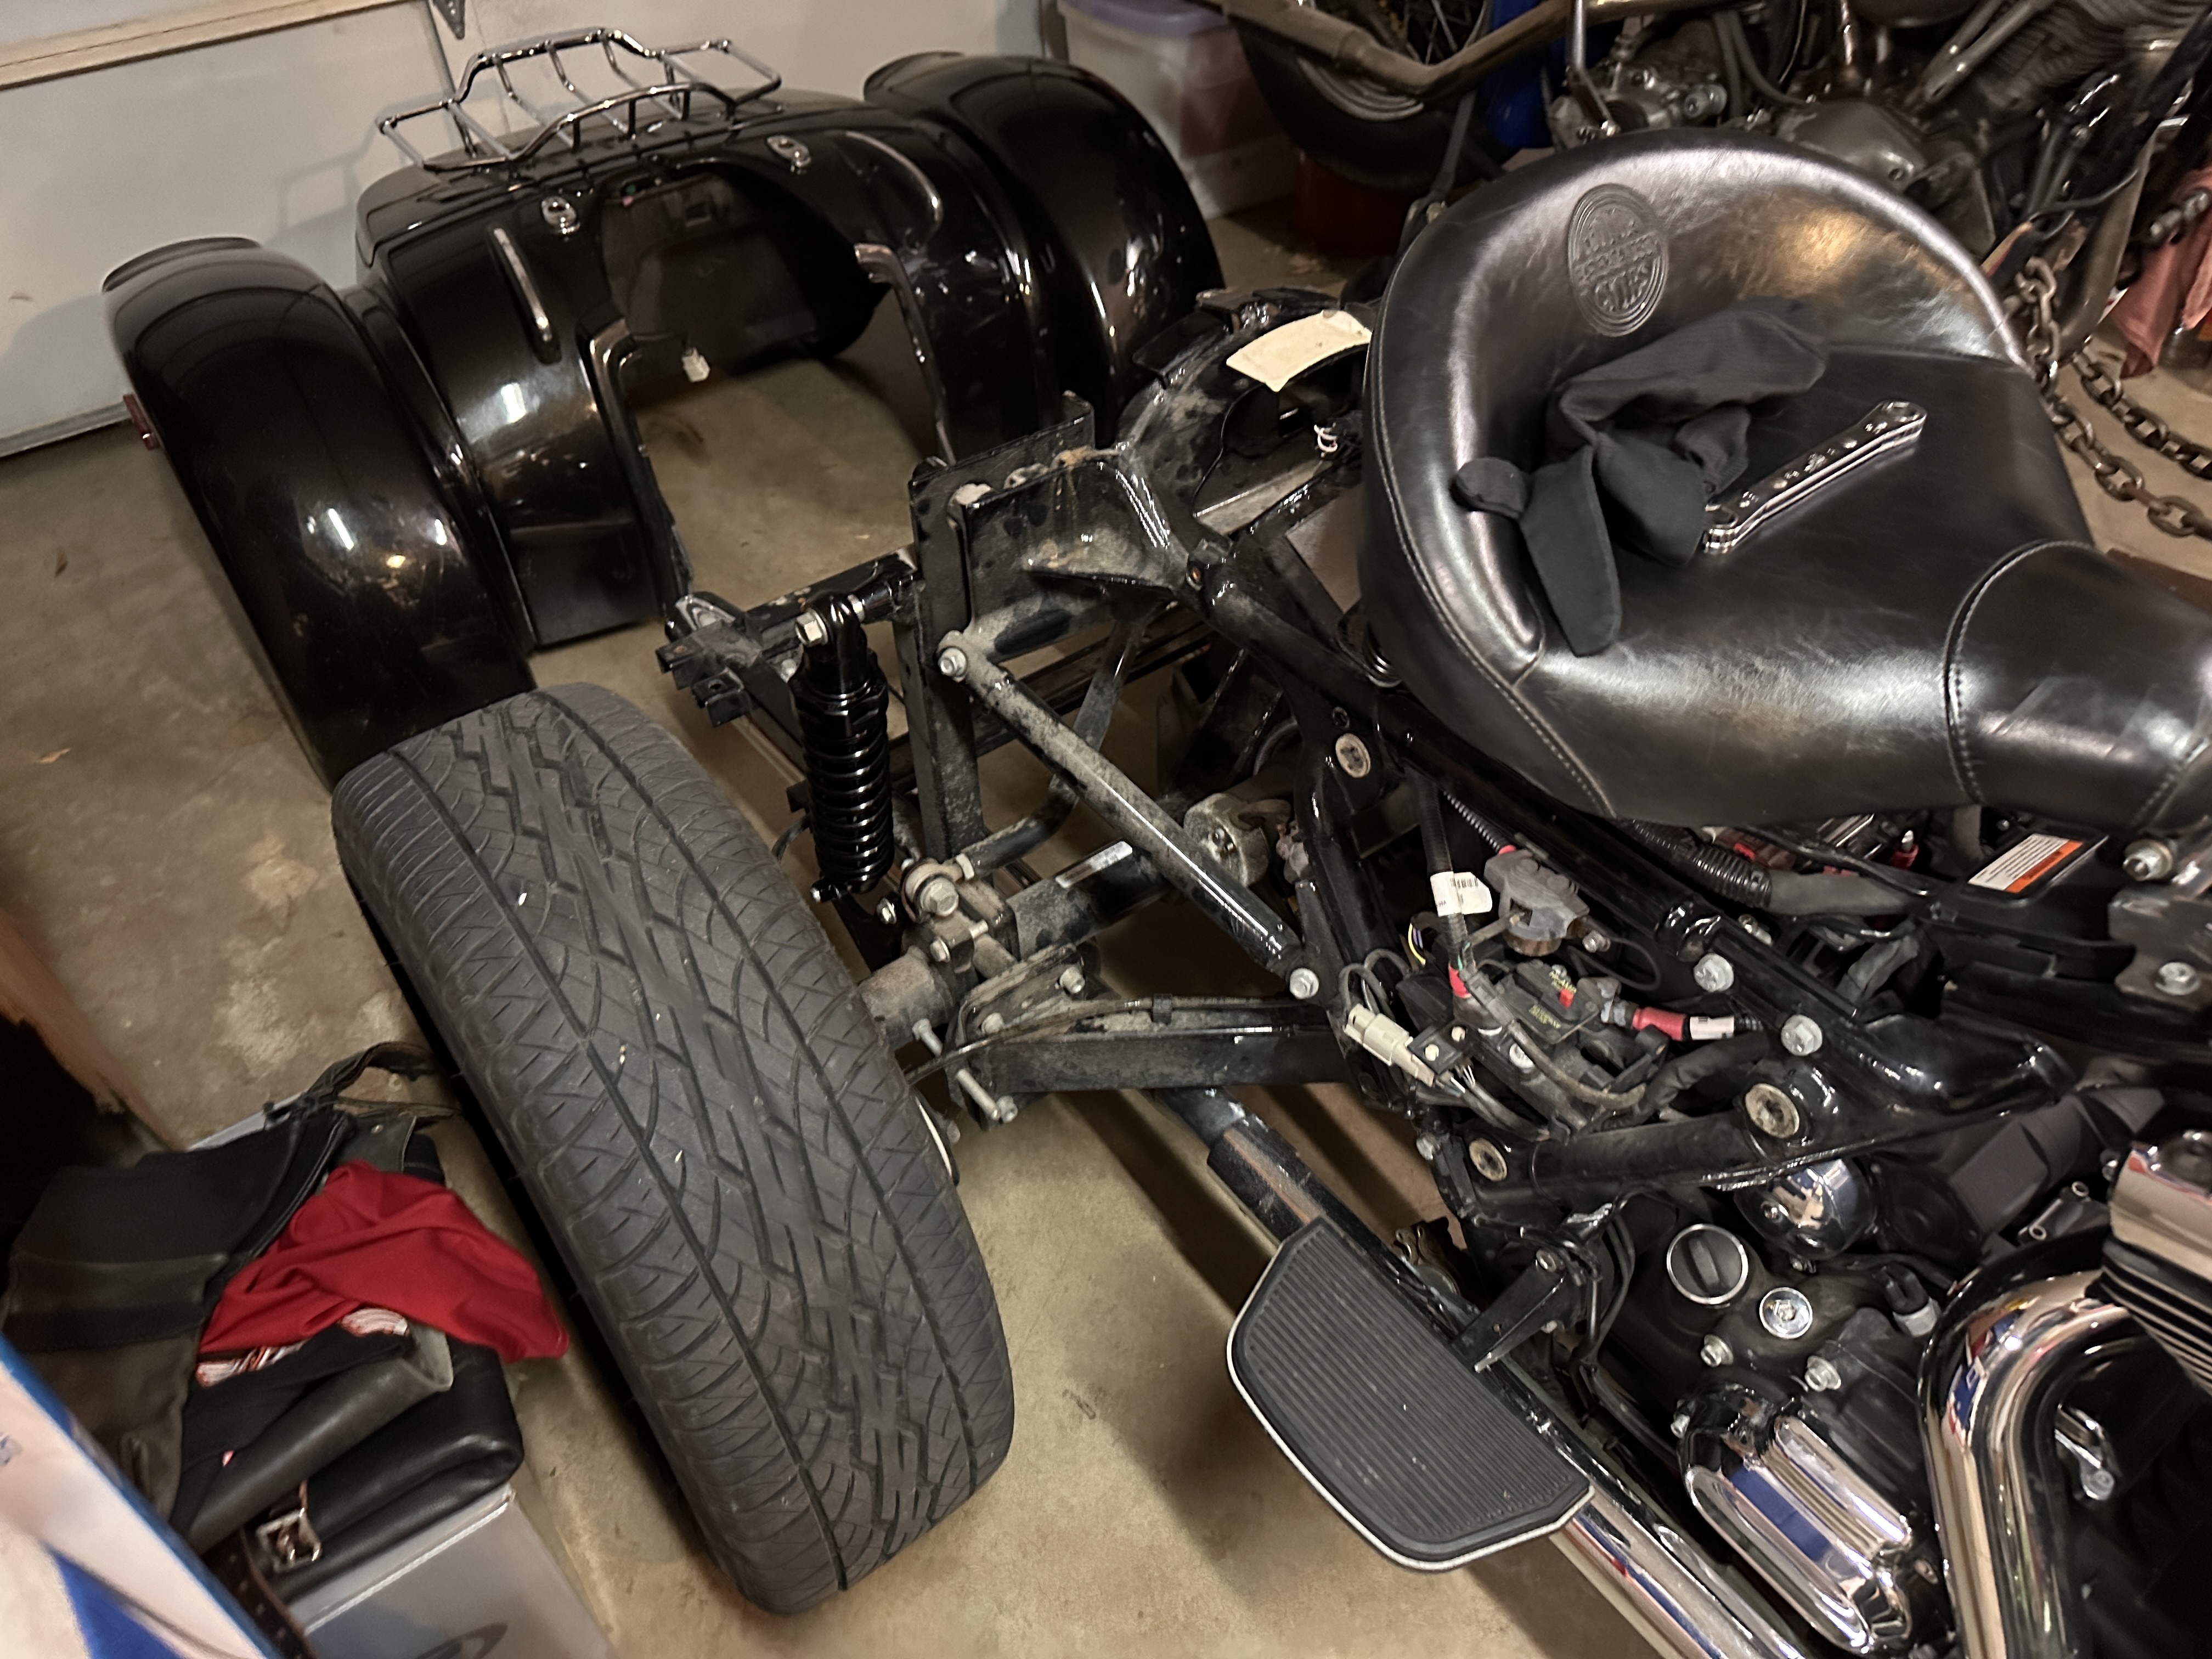
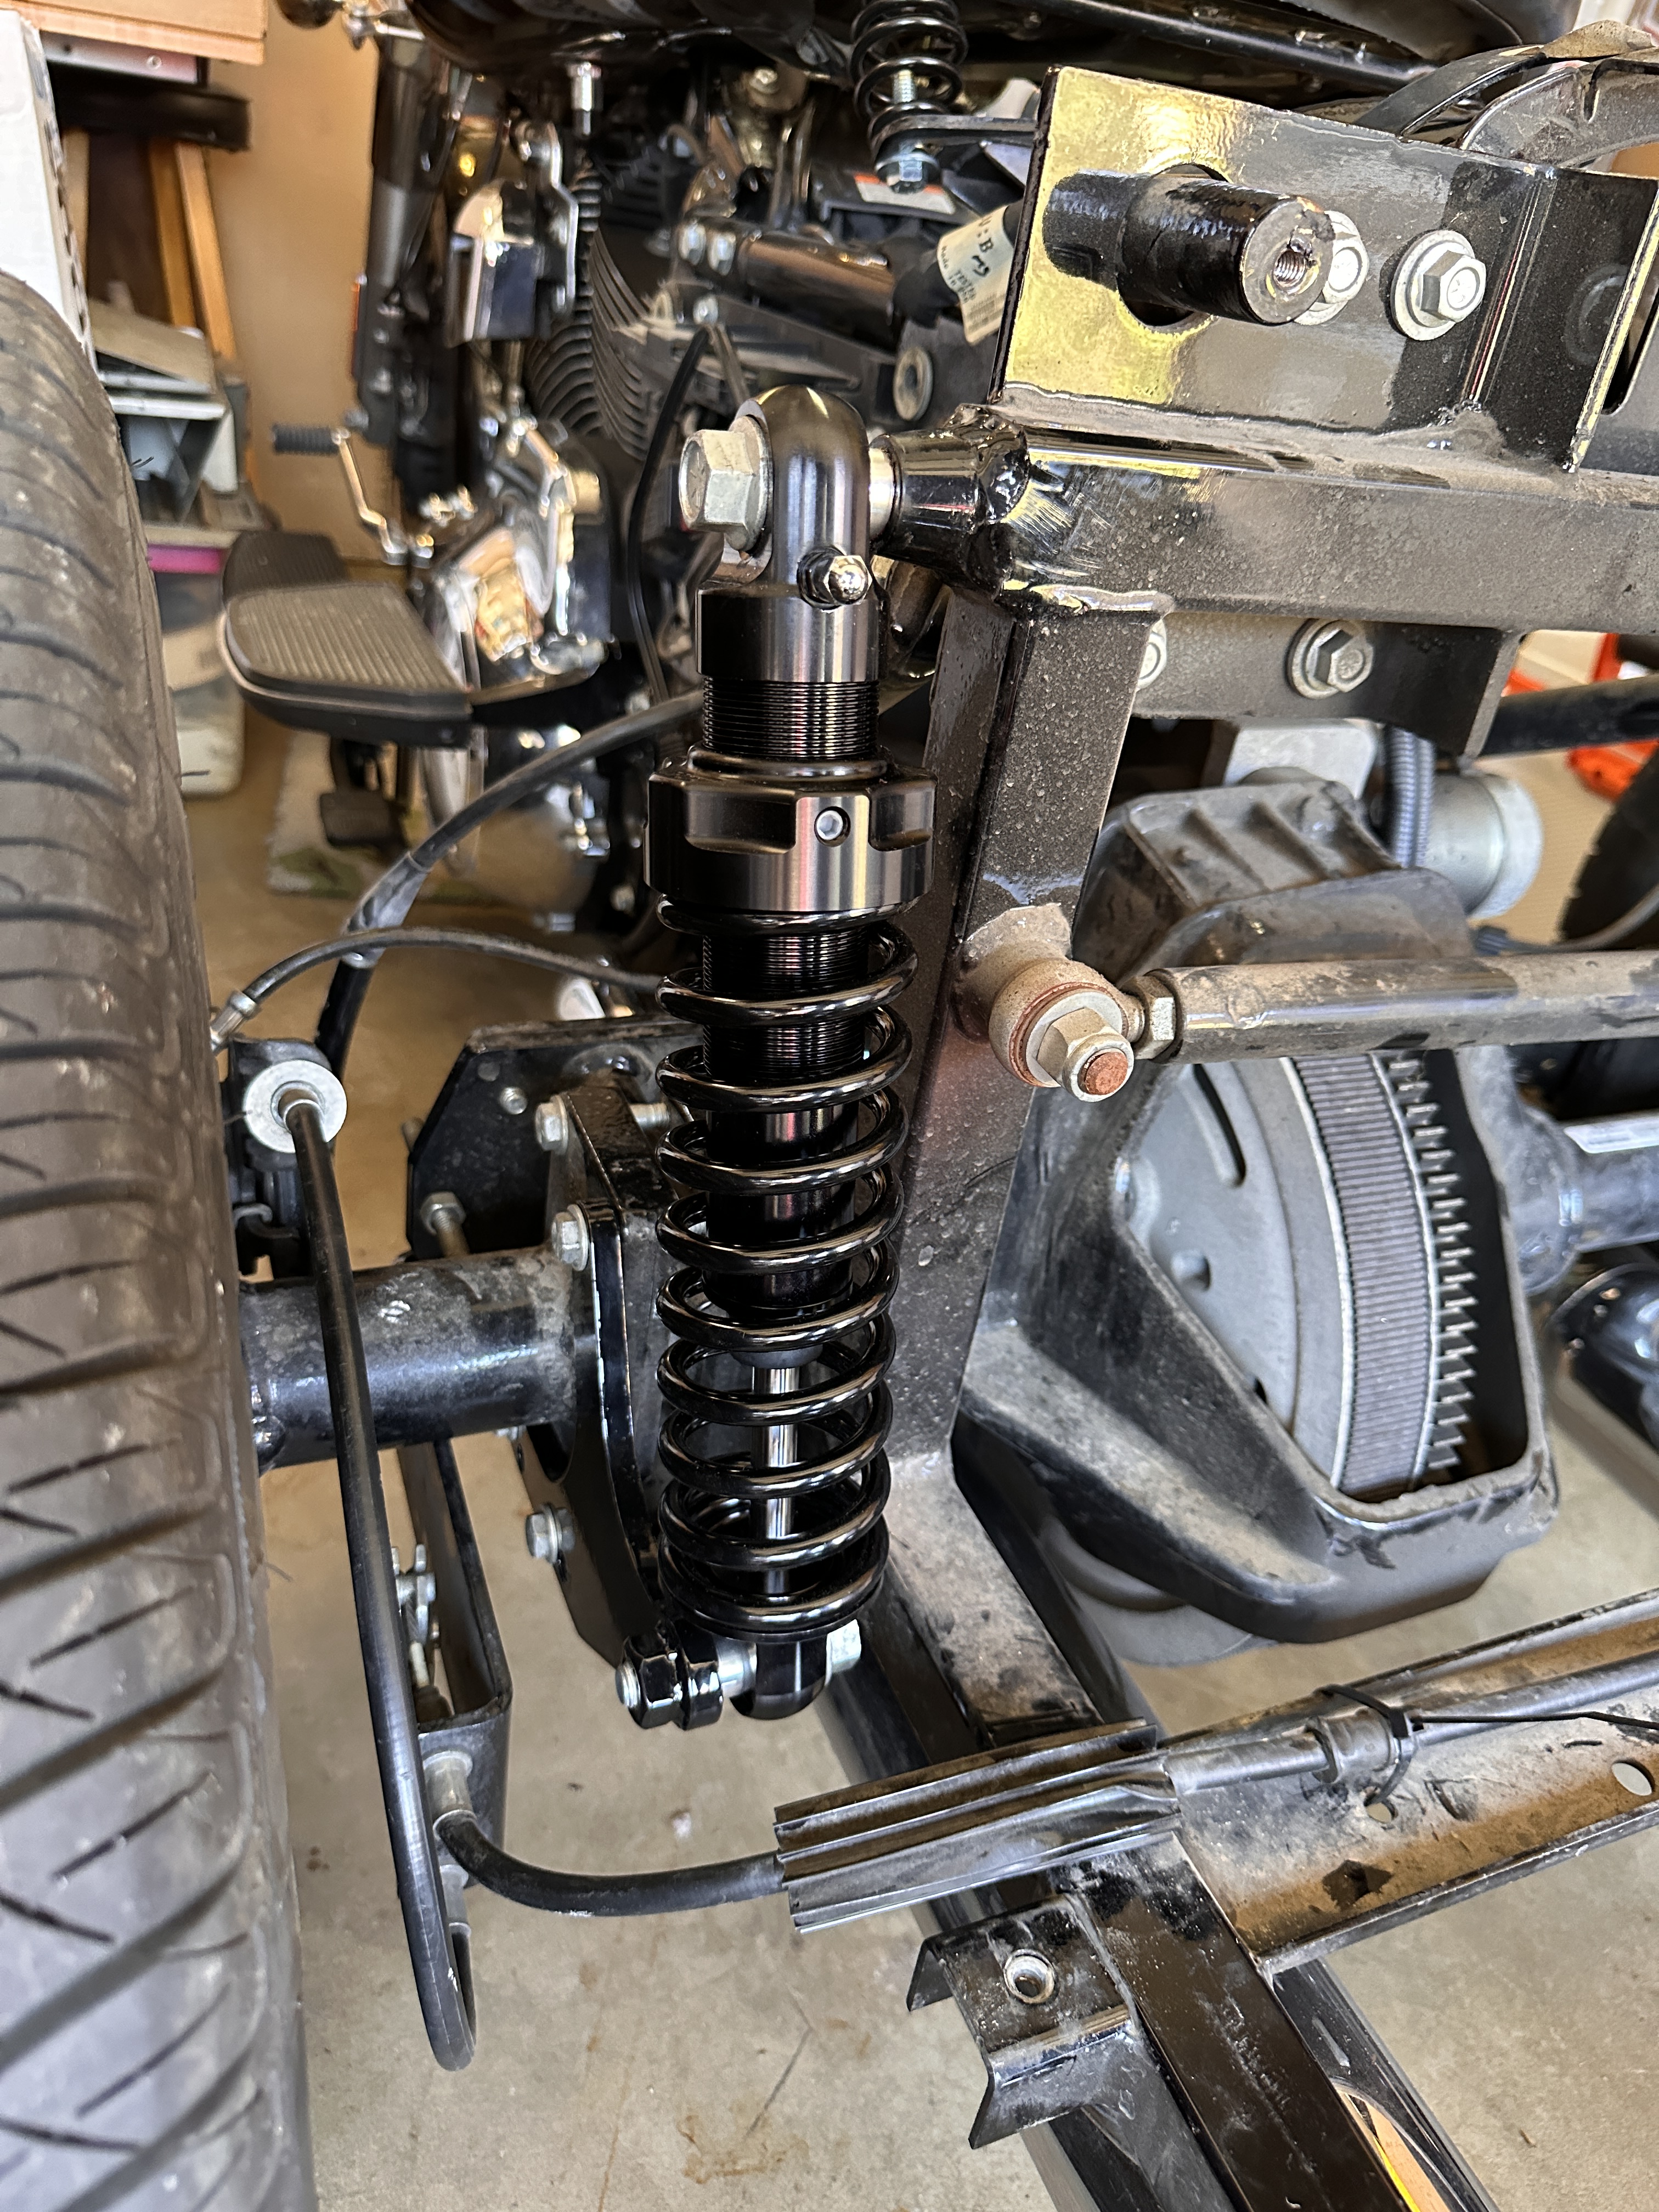
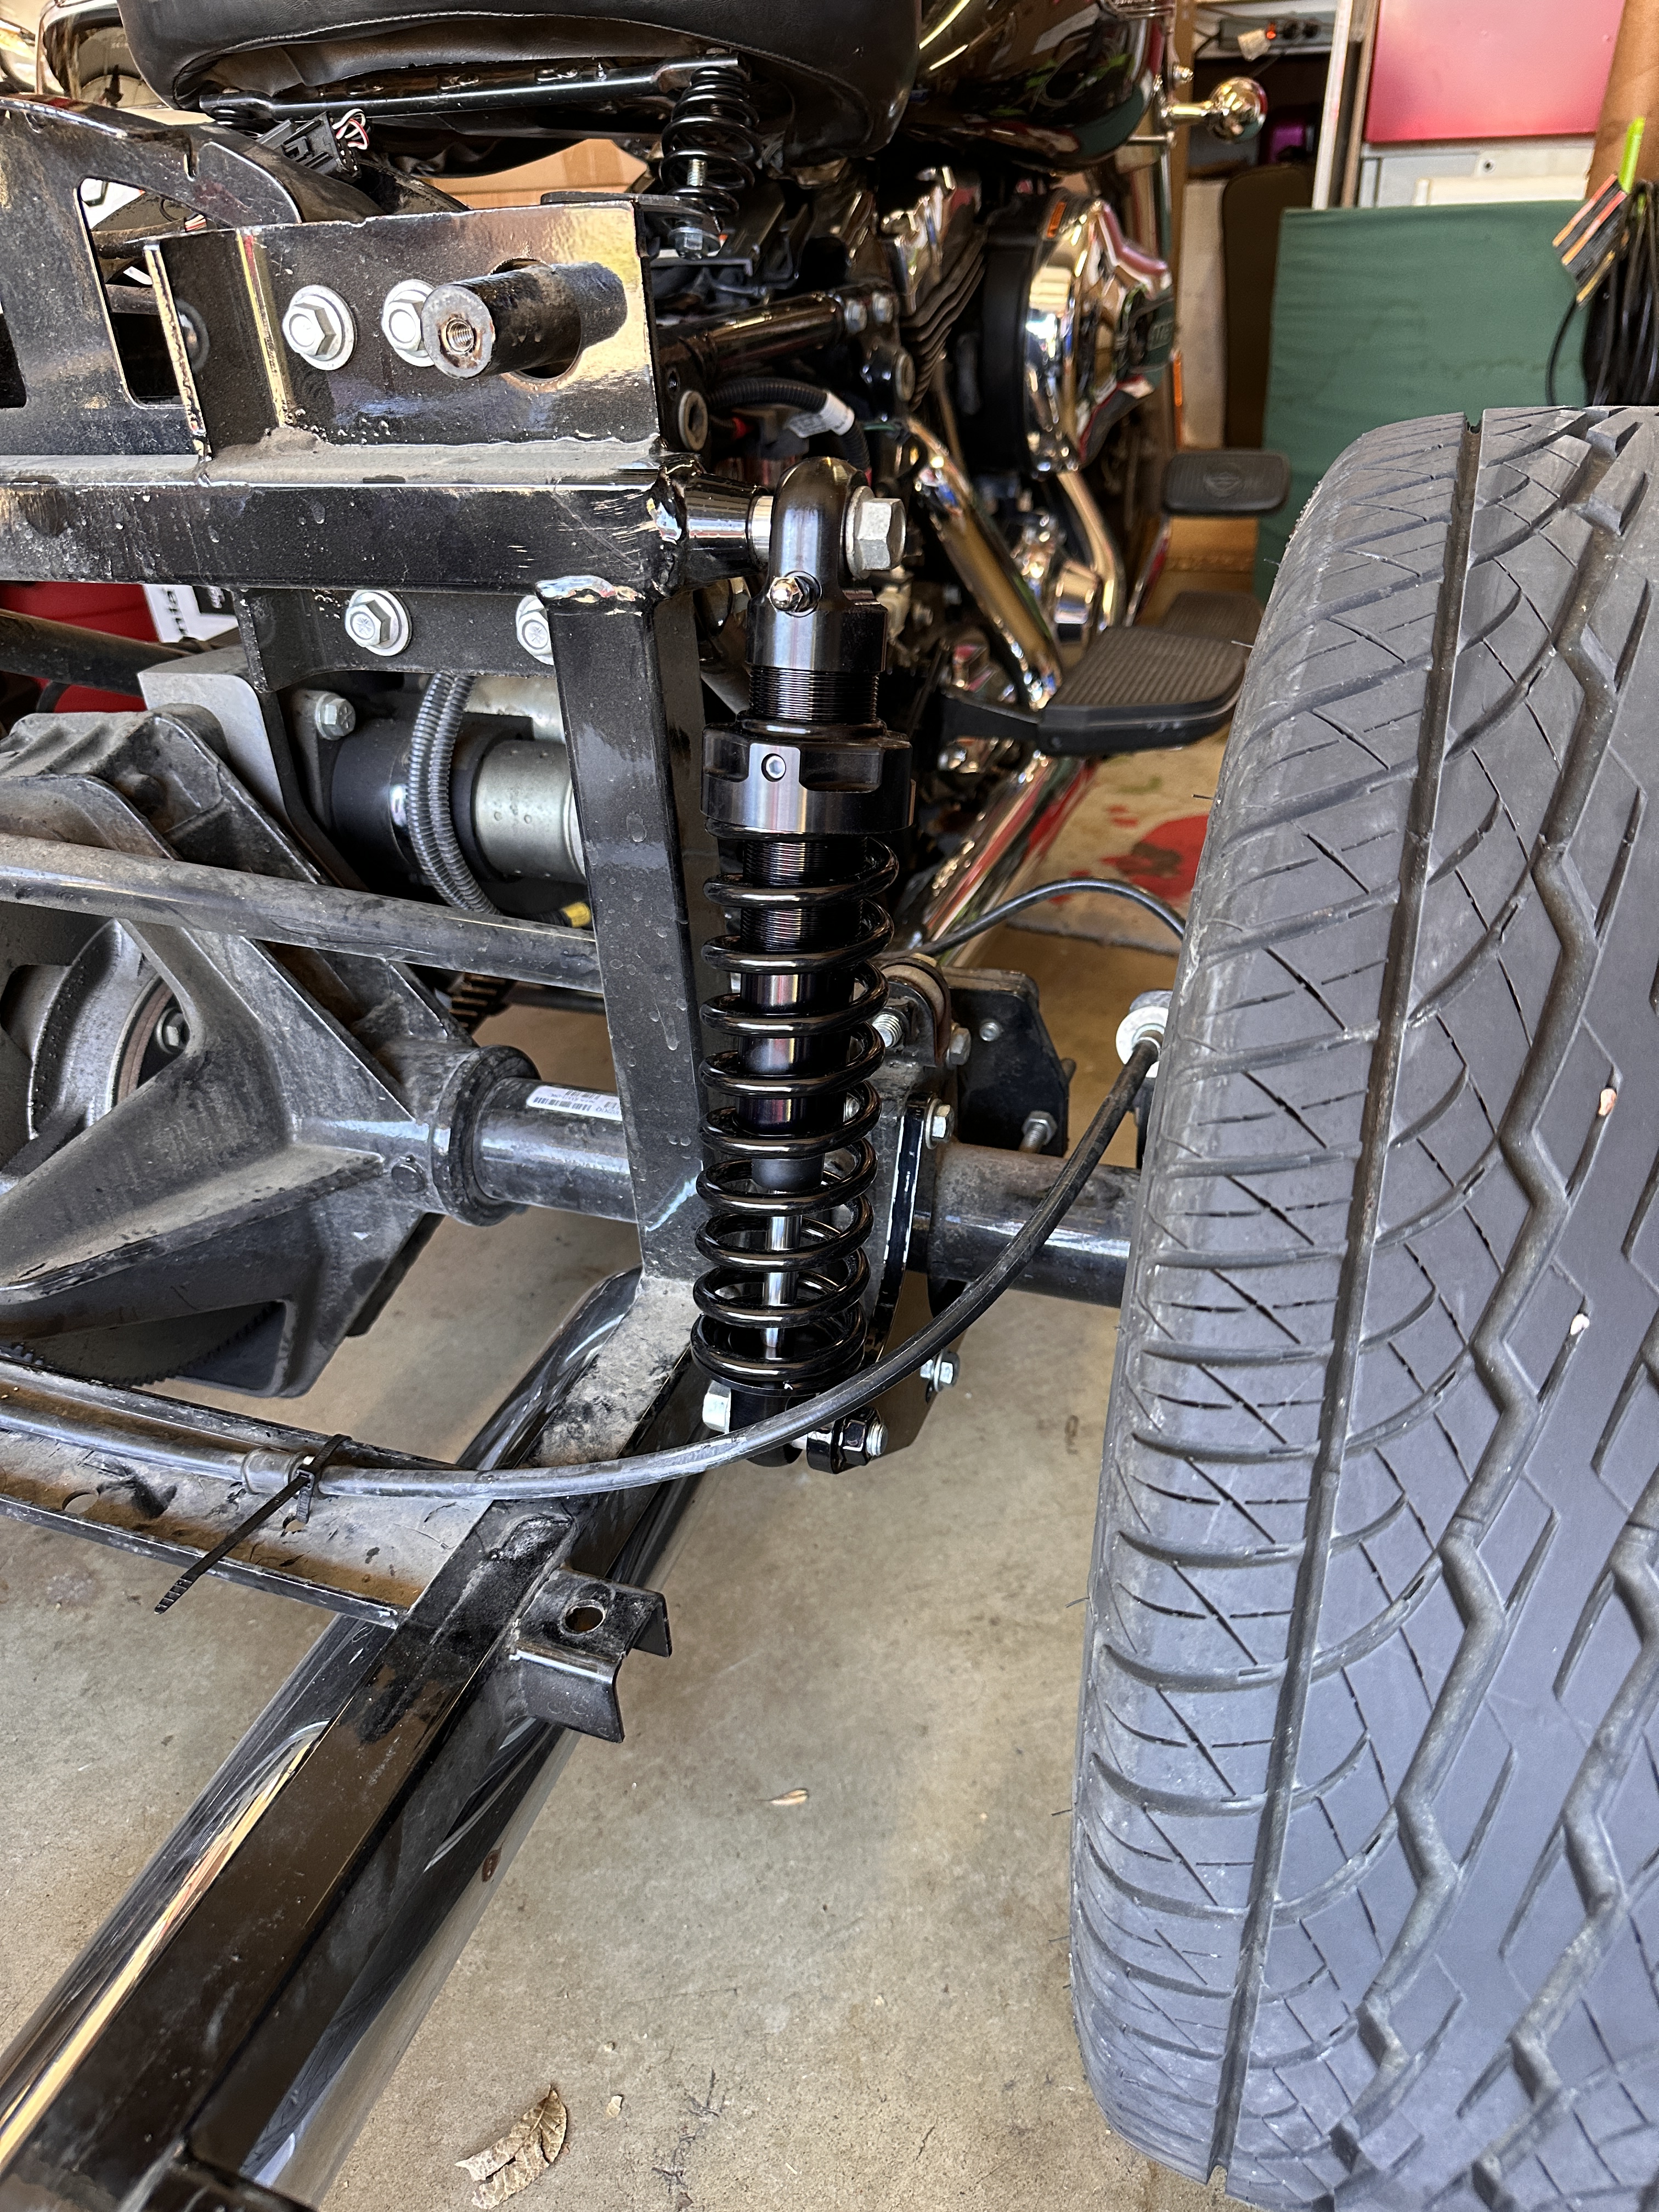
I got everything bolted up and jerry-rigged a taillight and took the trike for a ride, and…. no improvement whatsoever. 😳
I contacted DK and followed their instructions to try and troubleshoot and resolve the issue, but wasn’t getting results. Then I got kicked up the chain of command to Devin, who designed the shocks. Between us, we sorted it out, and in the end I got the ride I’d been looking for. 👍🏽

Note that it’s still a straight axle, and will never be a cushy ride, but it is a completely different beast from the OEM setup. Well worth the bucks, IMO, and I’d go back to DK Custom Products in a heartbeat. As stated above, they made a mistake, yes, but they also took full responsibility, which goes a long way in my book. They also gave me a little boot to make up for the added labor. I appreciate the hell out of that kind of customer service.
And I’m loving the ride! 😎